Ever feel like you’re running a restaurant with the world’s toughest critics? I know I do. One kid won’t touch anything green, another thinks all sauces are suspicious, and getting a “yum” instead of a “yuck” can feel like a major win.
That’s why I’m always on the hunt for recipes that feel like a treat for everyone, including us parents. We deserve something delicious that doesn’t require a culinary degree or hours in the kitchen. My secret weapon? Mini Cheesecakes. They’re part of my love for easy mini snacks like these sweet, crunchy Cheerios—perfect for satisfying everyone.
These little guys are a game-changer. They’re the perfect easy dessert for a busy week, and the best part? They’re a quick dessert that lets everyone customize their own. No more making separate meals. This is one sweet victory we can all share.
Recipe Overview
- Cuisine: American
- Category: Dessert
- Prep Time: 15 minutes
- Cook Time: 20 minutes
- Total Time: 35 minutes (plus chilling)
- Servings: 12 mini cheesecakes
Why Even My Picky Eaters Love This!
Let’s be real. The word “cheesecake” already gets their attention. But the mini size is what really wins. For a picky eater, a giant slice of anything can be overwhelming. A perfect little portion in a cupcake liner? That’s much less scary.
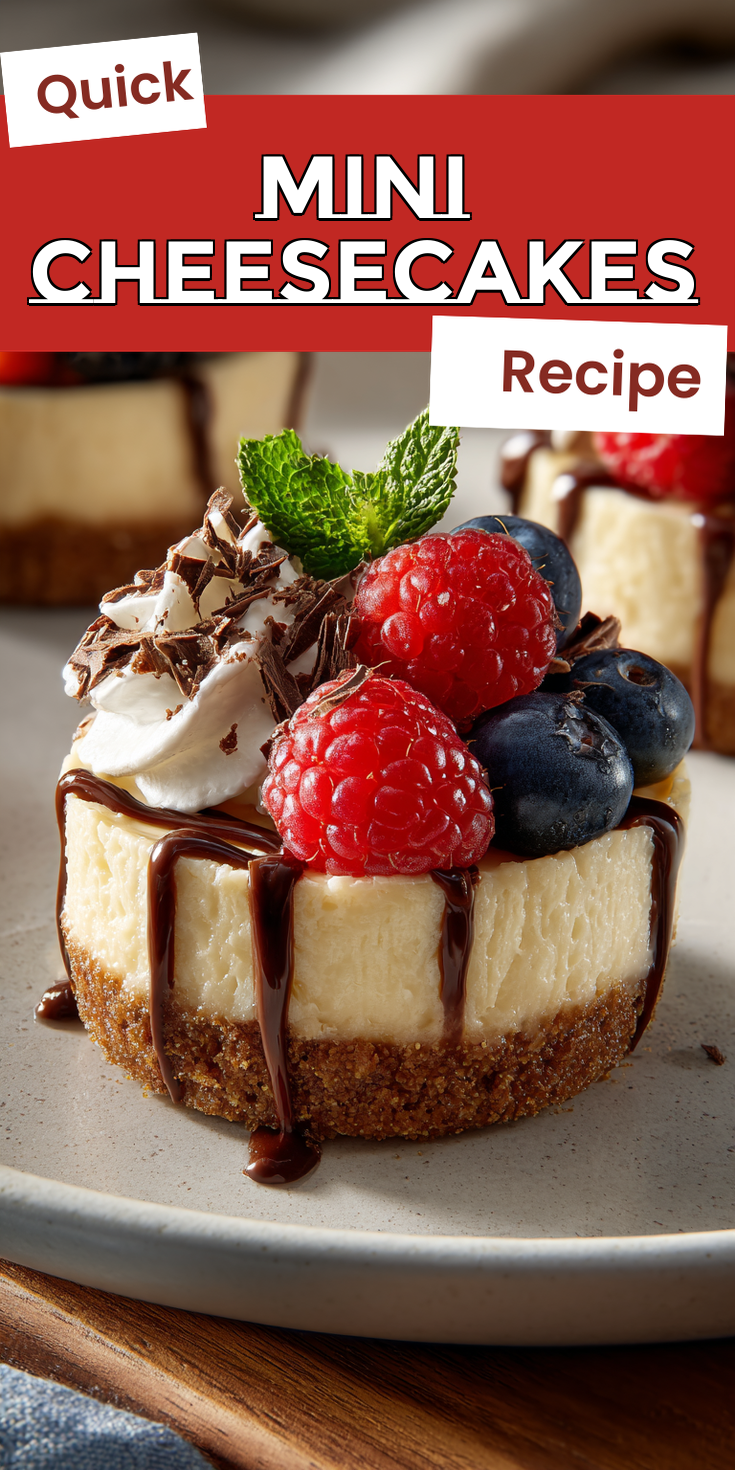
Mini Cheesecakes Recipe
Our Family-Friendly Ingredient List
The Full Step-by-Step Instructions
Notes
Enjoy your homemade Mini Cheesecakes Recipe!
They’re also not overly complicated in flavor. It’s a smooth, creamy, slightly sweet base that acts like a blank canvas. We can add different toppings so everyone gets exactly what they want. It gives them a sense of control, which is a huge win at the dinner table. This approach works for all kinds of mini meals, like these fluffy pancake muffins that are perfect for busy mornings.
Our Family-Friendly Ingredient List
I promise, nothing weird here. You probably have most of this in your pantry right now. That’s the beauty of a truly quick dessert.
- 12 whole graham crackers (or 1 1/2 cups of crumbs)
- 5 tablespoons melted butter
- 2 tablespoons granulated sugar
- 16 oz (two blocks) full-fat cream cheese, softened
- 2/3 cup granulated sugar
- 2 large eggs, at room temperature
- 1 teaspoon pure vanilla extract
- A pinch of salt
- Optional for topping: Fresh berries, chocolate chips, fruit pie filling, whipped cream
How to Get the Kids Involved in Cooking This
Getting little hands involved is my favorite trick. When they help make it, they’re way more likely to try it. It becomes their creation.
For younger kids, let them be in charge of placing the cupcake liners in the pan. It’s a great fine-motor skill. Older kids can absolutely handle crushing the graham crackers in a zip-top bag with a rolling pin. It’s a safe, fun way to get out some energy!
The Full Step-by-Step Instructions
Don’t let the fancy name fool you. This process is simple and straightforward. I’ll walk you through every step.
- Preheat your oven to 325°F (160°C). Line a 12-cup muffin tin with paper or foil liners.
- Make the crust. Crush the graham crackers into fine crumbs. Stir them together with the melted butter and 2 tablespoons of sugar until it looks like wet sand.
- Press about 1 1/2 tablespoons of the crumb mixture firmly into the bottom of each liner. I use a small glass or a measuring spoon to press it down flat and tight.
- Make the filling. In a large bowl, beat the softened cream cheese with a hand mixer until it’s completely smooth and creamy. This is key for no lumps!
- Beat in the 2/3 cup sugar until it’s fully combined. Then, add the eggs one at a time, beating well after each. Finally, mix in the vanilla and pinch of salt. Don’t overmix once the eggs are in.
- Divide the filling evenly among the 12 crusts, filling them almost to the top.
- Bake for 18-22 minutes. The centers should be just set and might have a slight jiggle. They will firm up as they cool.
- Let the cheesecakes cool in the pan on a wire rack for 30 minutes. Then, transfer them to the fridge to chill for at least 2 hours before serving. This patience is the hardest part!
Fun Twists for Different Tastes
This is where the magic happens. Set up a little topping bar and let everyone build their own dream dessert. It’s a fun activity and keeps the peace.
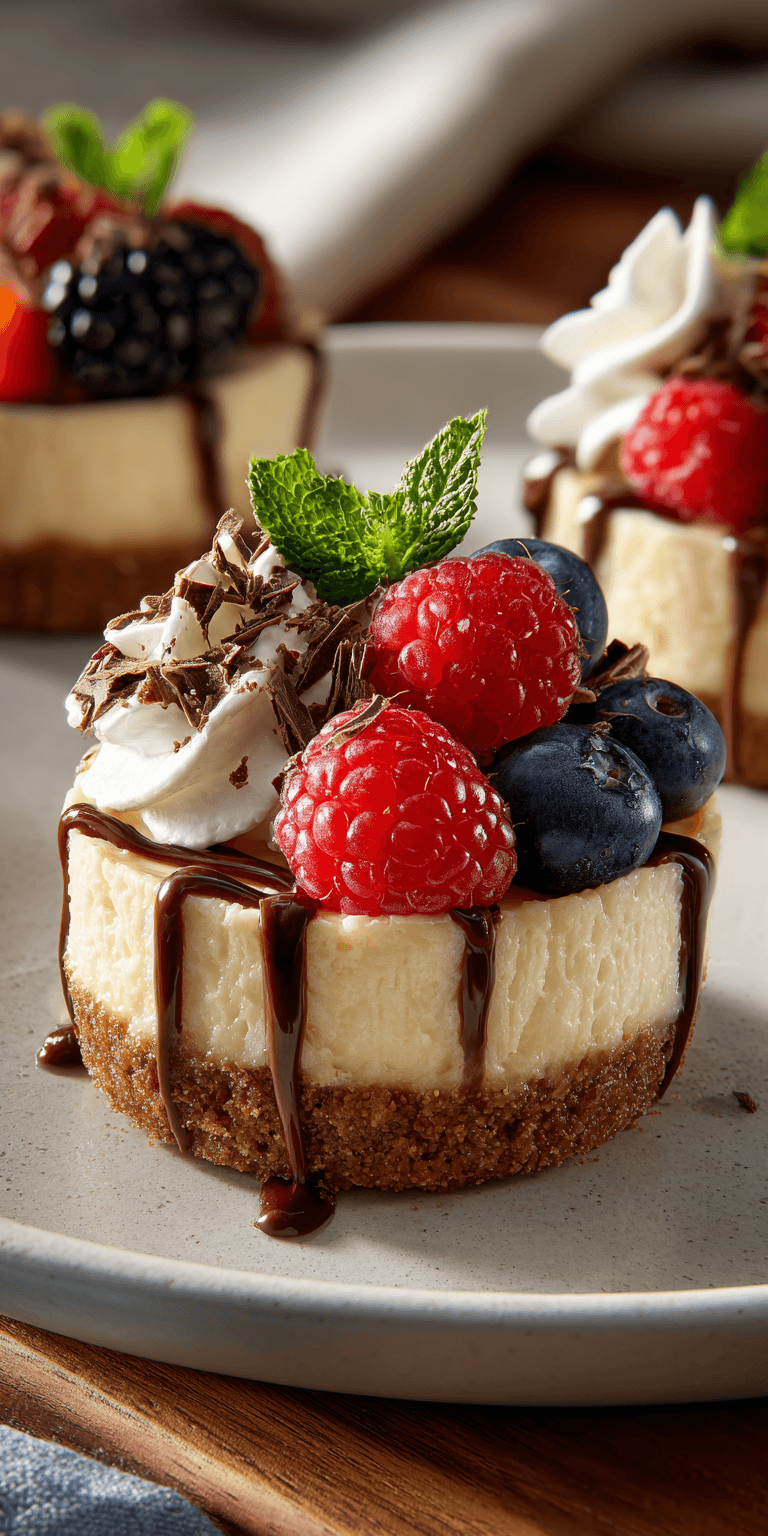
For the chocolate lovers, press a few chocolate chips into the top before baking. For fruit fans, a spoonful of strawberry pie filling or fresh blueberries on top is perfect. You can even swirl in a little caramel or chocolate sauce into the batter. For a super simple twist, just top with a dollop of whipped cream.
Storing & Reheating (Perfect for Busy Nights)
These are fantastic make-ahead treats. Once chilled, you can store them in an airtight container in the fridge for 4-5 days. They’re a ready-to-go sweet treat for lunchboxes or after-school snacks.
You can also freeze them! Place the chilled cheesecakes on a baking sheet to freeze solid, then transfer to a freezer bag. They’ll keep for 2-3 months. Thaw in the fridge overnight. No reheating needed!
Nutrition Notes
- This is a dessert, so it’s a treat! But making them mini helps with portion control.
- Using full-fat cream cheese gives the best texture and flavor.
- You can use low-fat cream cheese, but the texture will be slightly less rich.
- Adding fresh fruit as a topping is a great way to add a bit of vitamins and fiber.
FREQUENTLY ASKED QUESTIONS
Can I use something other than graham crackers for the crust?
Absolutely! Crushed vanilla wafers, Oreo cookies (with the filling), or even pretzels for a sweet-and-salty twist work wonderfully. Just use the same amount by volume (about 1 1/2 cups of crumbs).
Why do my cheesecakes have cracks on top?
This usually happens from overmixing the batter after adding the eggs, or from the oven temperature being too high. Don’t worry! They still taste amazing. A dollop of topping will cover any cracks right up.
Do I really have to wait for the cream cheese to soften?
I know it’s tempting to skip, but yes, please do! Taking the time to let it sit out for an hour makes blending smooth and easy. It prevents a lumpy filling and is the secret to that perfectly creamy texture.
So there you have it. A dessert that feels special, is secretly simple, and has something for every critic at your table. It’s one of those recipes that becomes a family staple because it just works. If you love these handheld treats, you might also enjoy fun, savory options like these creative shrimp scampi quesadilla cones for your next party.
I truly hope this recipe brings a little sweet joy and a lot less stress to your kitchen. Now, go make some memories (and some mess) with your mini chefs!
I’d love to know if this was a hit with your family! What were your favorite toppings? Please leave a comment and rating below!