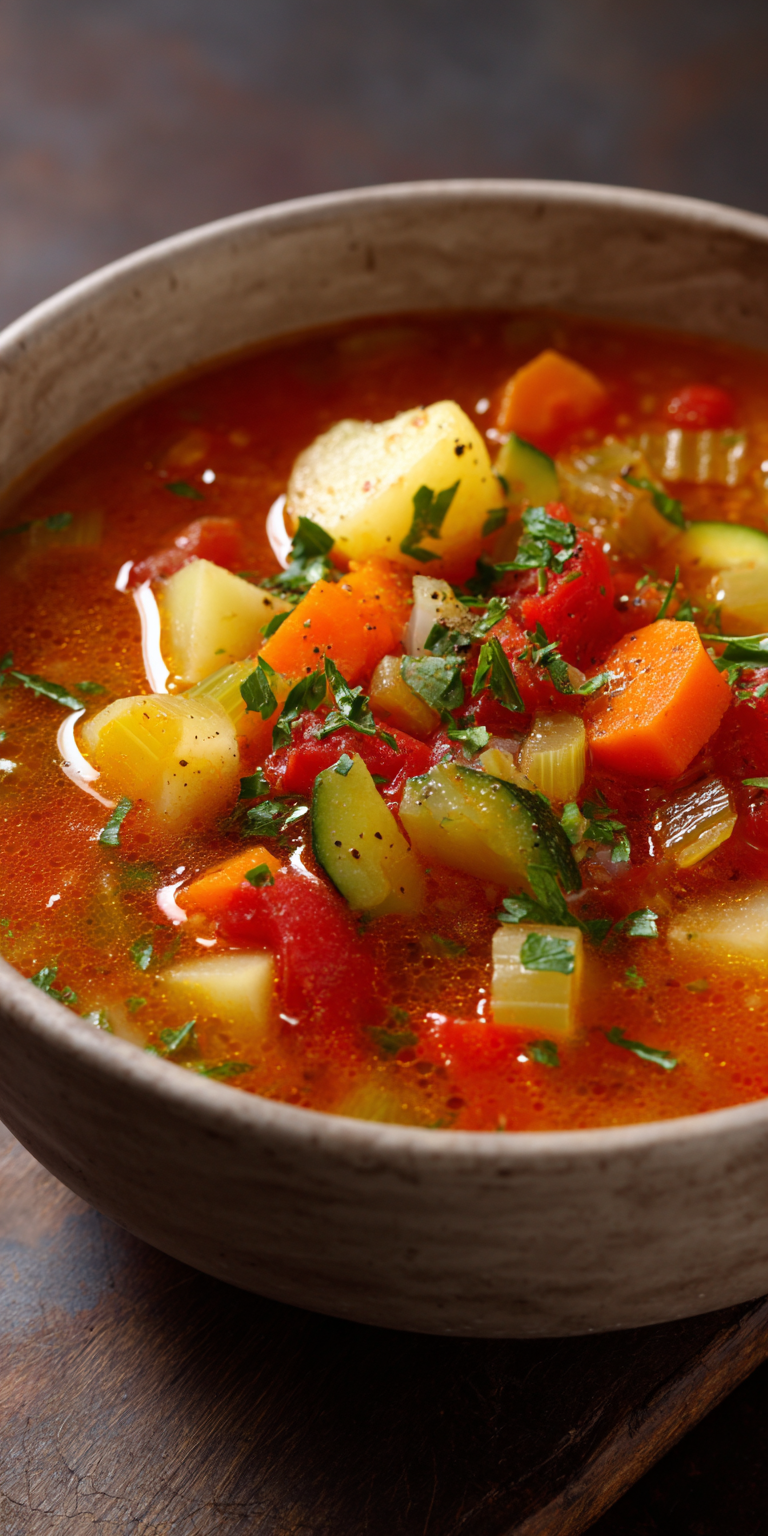

Does anyone else feel like they’re running a short-order kitchen instead of a family home? I’ve been there. You make a beautiful, healthy meal, and all you get are skeptical looks and a chorus of “I don’t like that.” It’s enough to make you want to serve buttered noodles every single night.
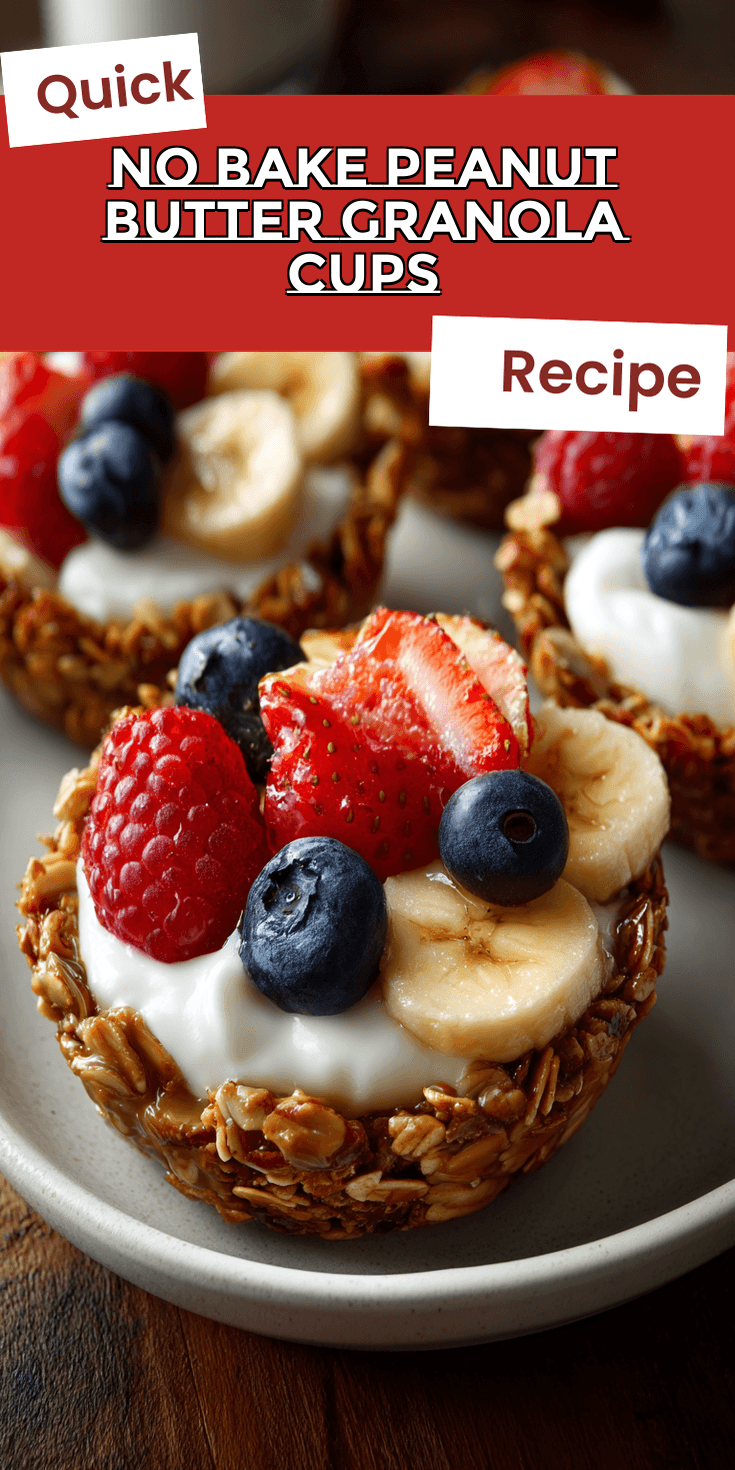
But I have a secret weapon for those days. It’s a recipe that requires zero oven time, uses ingredients you likely have, and has never, ever been rejected at my table. I’m talking about No Bake Peanut Butter Granola Cups. They’re the perfect bridge between a snack and a quick dessert, and they come together in minutes. If you love easy, no-bake treats, you should also try these mess-free Peanut Butter & Jelly Oat Cups.
Think of them as little edible cups you can fill with yogurt, fruit, or even a drizzle of chocolate. They’re crunchy, sweet, salty, and packed with protein. It’s the kind of easy dessert that feels like a treat but doesn’t send the kids into a complete sugar spiral. And the best part? No baking means no heating up the kitchen and no waiting for something to cool. It’s a total win.
Recipe Overview
- Cuisine: American
- Category: Snack / Quick Dessert
- Prep Time: 15 minutes
- Cook Time: 0 minutes
- Total Time: 15 minutes (plus 1 hour to chill)
- Servings: Makes 12 cups
Why Even My Picky Eaters Love This!
My kids are the masters of the side-eye when new food appears. But these cups pass their test every time. First, they’re fun to eat with your hands. Anything mini or cup-shaped is instantly more interesting than a boring old bowl of cereal.
No Bake Peanut Butter Granola Cups Recipe
Our Family-Friendly Ingredient List
The Full Step-by-Step Instructions
Notes
Enjoy your homemade No Bake Peanut Butter Granola Cups Recipe!
Second, they’re not mushy or mixed together in a scary way. The texture is a perfect, crunchy bite. And third, the flavor is a classic, safe bet: peanut butter and honey. It’s a familiar, comforting taste that doesn’t surprise their sensitive palates. It’s a guaranteed hit.
Our Family-Friendly Ingredient List
I promise, this isn’t one of those recipes with a weird, hard-to-find item. You probably have most of this in your pantry right now. That’s what makes it such a great last-minute lifesaver.
- 2 cups old-fashioned rolled oats (use certified gluten-free if needed)
- 1/2 cup creamy peanut butter
- 1/3 cup honey or pure maple syrup
- 1/4 cup melted coconut oil or unsalted butter
- 1 teaspoon pure vanilla extract
- A big pinch of salt
- Optional mix-ins: 1/4 cup mini chocolate chips, chopped raisins, or a sprinkle of cinnamon
How to Get the Kids Involved in Cooking This
Getting little hands involved is my favorite trick. When they help make it, they’re way more likely to try it. This recipe is perfect for that.
For younger kids, let them be in charge of measuring the oats and pouring them into the big bowl. They can also push the button on the microwave to melt the coconut oil or butter (with your help, of course!). Older kids can safely handle mixing the sticky, gooey peanut butter mixture. It’s a wonderful, messy, bonding activity.
The Full Step-by-Step Instructions
Don’t let the word “cups” intimidate you. We’re not using any fancy molds. A standard muffin tin and some paper liners are all you need. Let’s do this!
- Line a 12-cup muffin tin with paper liners. This is a non-negotiable step so the cups don’t stick.
- In a large mixing bowl, combine the rolled oats and your chosen optional mix-ins (like mini chocolate chips). Give it a quick stir.
- In a medium, microwave-safe bowl, combine the peanut butter, honey, and coconut oil. Heat it in the microwave for 30-second bursts, stirring in between, until it’s melted and smooth. This usually takes about 60-90 seconds total.
- Stir the vanilla extract and salt into the warm peanut butter mixture. You’ll smell how amazing it is already!
- Pour the warm, liquid mixture over the dry oats. Use a sturdy spatula to mix everything together until every single oat is coated in that shiny, sticky goodness.
- Scoop the mixture evenly into the 12 prepared muffin cups. I use a heaping tablespoon or a small cookie scoop.
- Now, here’s the key step! Take a small glass or a measuring spoon with a rounded bottom. Press down firmly into the center of each cup to create a deep, clear well. This is where you’ll add your fillings later.
- Place the whole muffin tin in the refrigerator. Let the cups chill and set for at least 1 hour. They need this time to firm up perfectly.
- Once they’re firm, peel off the liners. Fill with your favorite toppings and enjoy!
Fun Twists for Different Tastes
One batch doesn’t have to be boring for everyone. You can easily customize these to please the whole crowd, even the adults!
For a chocolate-lover, stir in mini chocolate chips to the oat mix. Or, once the cups are set, melt a little chocolate and drizzle it over the top. For a fruity twist, mix in some freeze-dried strawberry or banana chips, crushed into small pieces. If you’re a fan of the classic banana-chocolate-peanut butter combo, you’ll adore these no-bake Chunky Monkey Banana Bites.
If you have a nut allergy at home, sunflower seed butter works as a fantastic swap for peanut butter. And for a special treat that reminds me of a moist homemade carrot cake, try filling the set cups with a spoonful of sweetened cream cheese and a tiny sprinkle of grated carrot and cinnamon on top. It’s so good!
Storing & Reheating (Perfect for Busy Nights)
This is the best part for busy parents. These cups are make-ahead magic. Once they are fully set, you can store them in an airtight container in the fridge for up to a week.
I often make a double batch on Sunday. Then, all week long, I have a ready-to-go snack or quick dessert. You can also freeze them for up to 2 months! Just separate layers with parchment paper in a freezer bag. Thaw in the fridge overnight.
Nutrition Notes
While these are a treat, I love that they pack some good stuff, too. Here’s a simple breakdown of what you’re getting per cup (without extra fillings):
- Good source of fiber from the oats.
- Plant-based protein from the peanut butter.
- Healthy fats from the peanut butter and coconut oil.
- No refined sugar if you use pure honey or maple syrup.
- You control the ingredients, so there are no weird additives.
FREQUENTLY ASKED QUESTIONS
Can I make these without peanut butter?
Absolutely! Any nut or seed butter you like will work. Almond butter, cashew butter, or sunflower seed butter are all great choices. Just make sure it’s the creamy, stir-able kind, not the dry, natural kind that’s hard to mix.
My mixture seems too dry and crumbly. What did I do wrong?
Don’t worry! This usually means your peanut butter or honey measurement was a little scant, or your oats were extra thick. The fix is easy. Just add another tablespoon of melted peanut butter or honey and mix it in. The mixture should hold together when you pinch it.
How long do they take to really set up?
They need a full hour in the fridge to become firm enough to hold their shape and the filling. If you’re in a huge rush, you can pop the tray in the freezer for about 20-25 minutes instead. But the fridge method is best for the perfect texture.
So there you have it. My go-to recipe for stopping the “what’s for snack?” complaints in their tracks. It’s simple, it’s fast, and it makes everyone happy. That’s my kind of kitchen victory. For another fantastic frozen treat that’s perfect for a hot day, be sure to check out these easy Frozen Yogurt Granola Cups.
I truly hope this recipe brings a little peace and a lot of yummy crunch to your table. I’d love to know if this was a hit with your family! Please leave a comment and rating below!