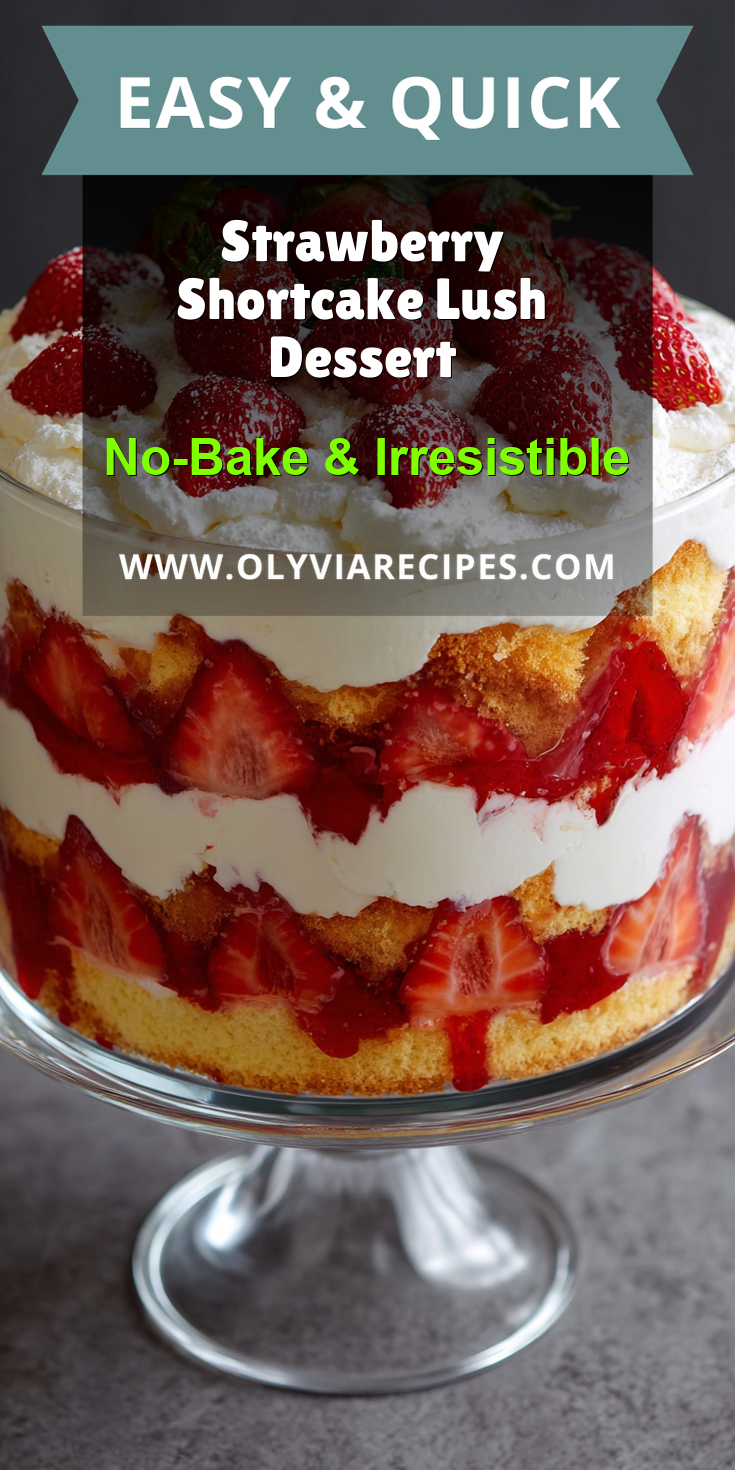
Some recipes just feel like a warm hug. For me, this Strawberry Shortcake Lush Dessert is one of them. It’s the taste of a summer afternoon, with the screen door slamming and laughter in the air. If you love easy, no-bake strawberry desserts, you might also enjoy these Chocolate Strawberry Yogurt Bites for a lighter treat.
This dessert takes me right back to my grandma’s kitchen. She’d make it for church potlucks and family reunions. It was always the first pan to be scraped clean.
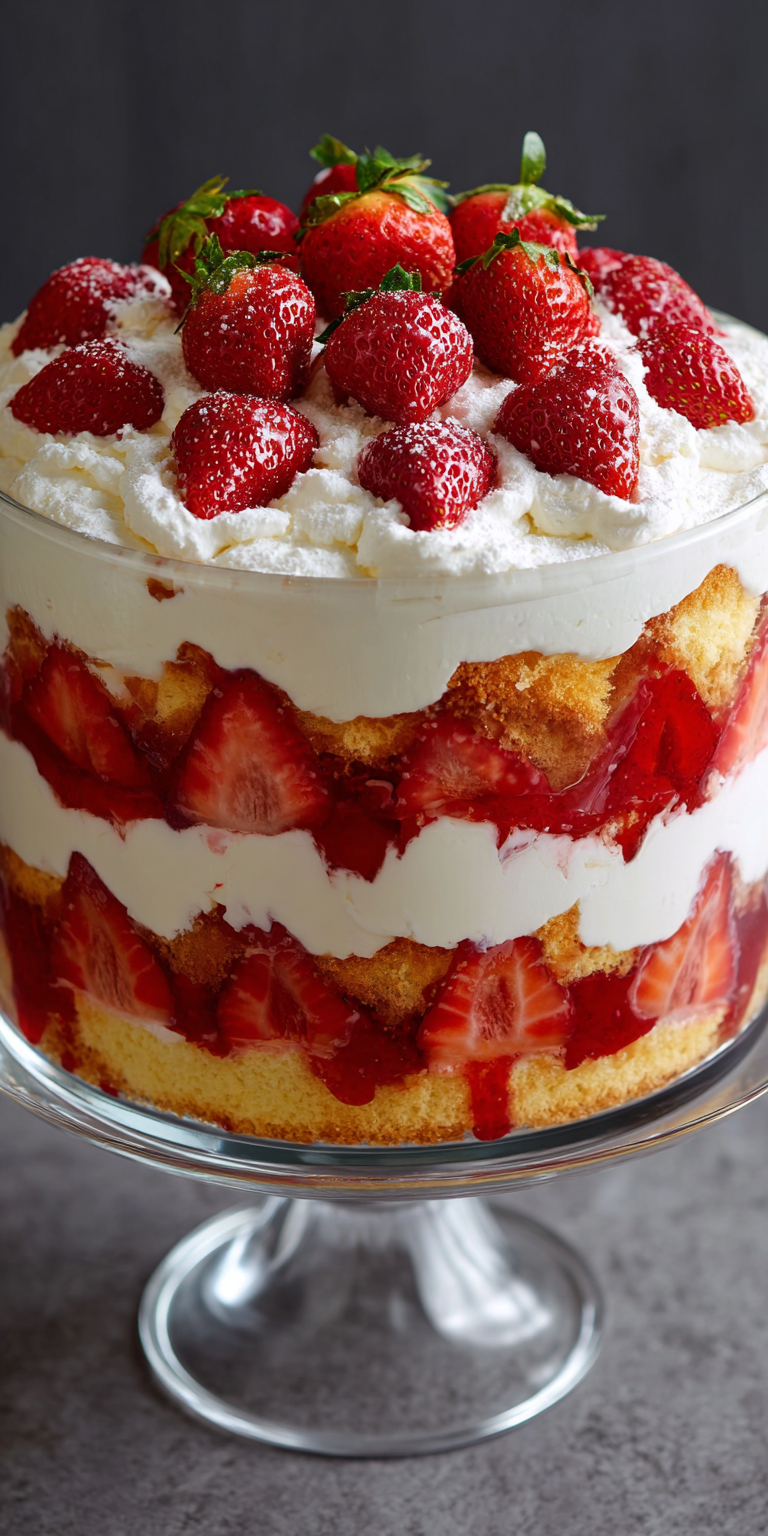
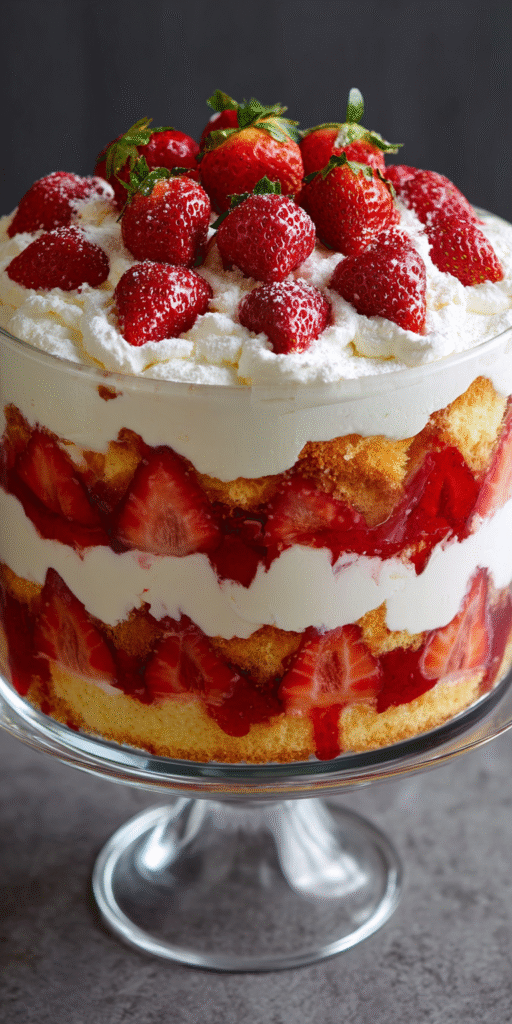
It’s a classic layered pudding dessert, a true cold treat. We call it a “lush” or a “lasagna dessert” because of its beautiful, stacked layers. Each spoonful is a perfect mix of creamy, crunchy, and fruity.
Recipe Overview
- Cuisine: American
- Category: Dessert
- Prep Time: 25 minutes
- Cook Time: 10 minutes (for crust)
- Total Time: 4 hours 35 minutes (includes chilling)
- Servings: 12
The Story Behind This Classic Recipe
This dessert has deep roots in American home cooking. It came from the mid-century love for easy, make-ahead dishes. Think of church socials and family picnics.
My grandma’s version was always in a well-loved glass baking dish. The recipe was handwritten on a stained index card. It was simple magic, turning everyday ingredients into something special.
That’s the heart of this dish. It’s not about being fancy. It’s about sharing something sweet and comforting with the people you love.
What Makes This the *Traditional* Way
Some recipes try to change a good thing. Not this one. We stick to the classic method that has worked for generations.
The crust is always a simple shortbread or vanilla wafer base. It’s pressed in, not rolled out. The cream cheese layer is sweetened just right, never sour. For another fun twist on a classic using similar pantry staples, check out this recipe for Strawberry Shortcake Puppy Chow.
We use instant vanilla pudding for that signature texture. Fresh strawberries crown the top. This is the real deal, just like you remember.
Strawberry Shortcake Lush Dessert Recipe
The Classic Ingredients (No Fancy Stuff!)
How to Make It Just Like Grandma Did
Notes
Enjoy your homemade Strawberry Shortcake Lush Dessert Recipe!
Nutrition Information
The Classic Ingredients (No Fancy Stuff!)
Gathering these simple ingredients is part of the joy. You likely have most in your pantry right now. Here’s what you’ll need:
- For the Crust:
- 2 cups shortbread cookie crumbs (about 1 sleeve of cookies)
- 1/2 cup (1 stick) unsalted butter, melted
- 2 tablespoons granulated sugar
- For the Cream Cheese Layer:
- 8 ounces full-fat cream cheese, softened
- 1 cup powdered sugar
- 1 teaspoon pure vanilla extract
- 1 (8 ounce) container frozen whipped topping, thawed (divided use)
- For the Pudding Layer:
- 2 (3.4 ounce) packages instant vanilla pudding mix
- 3 cups cold whole milk
- For the Topping:
- 1 pound fresh strawberries, hulled and sliced
- Reserved whipped topping for garnish
How to Make It Just Like Grandma Did
Follow these steps and you can’t go wrong. The key is to let each layer set before adding the next. It makes for those beautiful, clean slices.
- Make the Crust: Heat your oven to 350°F. Mix the cookie crumbs, melted butter, and sugar in a bowl. Press it firmly and evenly into the bottom of a 9×13 inch baking dish. Bake for 10 minutes, then let it cool completely on a wire rack.
- Make the Cream Cheese Layer: In a large bowl, beat the softened cream cheese until it’s smooth. Beat in the powdered sugar and vanilla. Gently fold in half of the whipped topping (about 1 cup) until no streaks remain.
- Assemble: Spread the cream cheese mixture evenly over the cooled crust. This is your essential second layer. It seals the crust and keeps it crisp.
- Make the Pudding Layer: In another bowl, whisk the instant pudding mixes with the cold milk for 2 minutes. It will thicken quickly. Let it sit for 5 minutes to set further, then spread it over the cream cheese layer.
- Chill: Cover the dish and refrigerate for at least 4 hours, or overnight. This patience is crucial for perfect layers.
- Finish and Serve: Just before serving, spread the remaining whipped topping over the pudding. Artfully arrange the sliced strawberries on top. Slice, serve, and enjoy the smiles.
My Tips for Perfecting This Classic
A few small tricks make a big difference. They’re the kind of tips passed down over a kitchen counter.
First, make sure your cream cheese is truly soft. Leave it on the counter for an hour. This prevents lumps and makes a silky layer.
Second, use a flat-bottomed glass to press the crust. It gives you a firm, even base. A loose crust will crumble when you cut it.
Finally, don’t skip the initial chill time. Letting the dessert set overnight is the secret to those picture-perfect layers that hold their shape.
How to Store and Enjoy Later
This dessert is meant to be made ahead. It stores beautifully, making it a perfect plan-ahead treat.
Keep it covered tightly with plastic wrap in the fridge. It will stay fresh for up to 3 days. The crust may soften a little by day three, but it will still taste wonderful.
I don’t recommend freezing it. The pudding and whipped topping layers can become watery when thawed. It’s best enjoyed cold from the refrigerator.
Nutrition Notes
This is a celebration dessert, meant to be enjoyed in moderation. Here’s a general idea of what’s in a serving.
- Calories: ~380
- Total Fat: 22g
- Saturated Fat: 14g
- Cholesterol: 45mg
- Sodium: 280mg
- Total Carbohydrates: 42g
- Sugar: 30g
- Protein: 5g
Your Questions About This Classic Recipe
Here are answers to a few common questions I get about this family favorite.
Can I use different fruit?
Absolutely! This recipe is wonderfully adaptable. Blueberries, raspberries, or a mix are all fantastic. You can even use a good-quality strawberry pie filling in a pinch for a different texture.
What can I use instead of whipped topping?
For a from-scratch touch, you can use homemade sweetened whipped cream. Whip 1 1/2 cups of heavy cream with 3 tablespoons of powdered sugar until stiff peaks form. Use it in the same way.
My cream cheese layer is lumpy. What happened?
This usually means the cream cheese wasn’t soft enough. To fix it, you can beat the mixture a little longer. For next time, let the cream cheese sit out longer. Room temperature is key for a smooth finish.
I hope this recipe finds its way to your family table. I hope it becomes a part of your own story, just like it is a part of mine.
There’s something so special about sharing these traditional comforts. They connect us to the past and create new memories all at once. If you’re looking for another show-stopping dessert to share at your next gathering, these Churro Cheesecake Tacos are a guaranteed crowd-pleaser.
Did your family have a version of this lush dessert? I would love to hear about it. Please share your own stories and tips in the comments below, and let me know how yours turns out!