You’ve made Oreo balls before. I know you have. They’re a classic for a reason.
But I bet they’ve been a bit messy, maybe a little soft, or the chocolate cracked. That ends today.
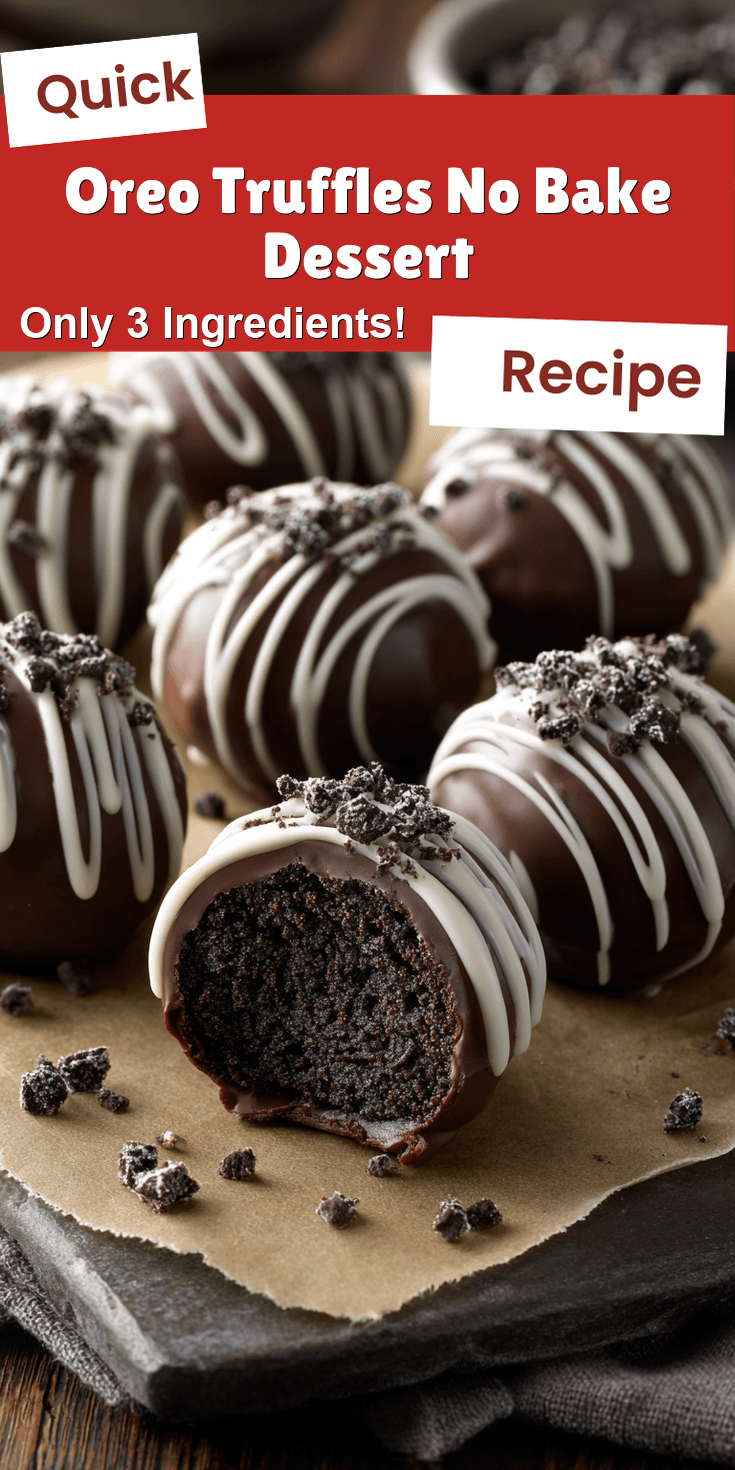
This Oreo Truffles No Bake Dessert has one secret move that changes everything. It’s not an ingredient. It’s a technique. Ready to learn it? If you love creative no-bake treats, you should also try our fun no-bake Oreo sushi rolls.
Recipe Overview
Let’s get the basics out of the way. This is your new foundation.
Oreo Truffles No Bake Dessert Recipe
The “Upgraded” Ingredient List
The Pro-Method (Step-by-Step)
Notes
Enjoy your homemade Oreo Truffles No Bake Dessert Recipe!
- Cuisine: American
- Category: Dessert
- Prep Time: 30 minutes
- Cook Time: 0 minutes
- Total Time: 1 hour 30 minutes (includes chilling)
- Servings: 24-30 truffles
The Secret Ingredient That Makes All the Difference
I promised a secret. Here it is. It’s not in the bowl.
The secret is temperature control. Most recipes just tell you to mix and dip. That’s where they fail. The real magic happens before you even touch the chocolate.
You must chill your shaped truffle centers until they are bone-cold. I’m talking 2 hours minimum, but overnight is my gold standard. A cold center is a firm center. It won’t melt or soften your coating chocolate, which gives you that perfect, crisp shell.
Why This Method is Better (My Pro-Tips)
I’ve made thousands of these. My method skips the guesswork.
First, I use a food processor to get the Oreo crumbs super-fine. No chunks. This gives you a smooth, pliable dough. Second, I mix the cream cheese in with the paddle attachment of my stand mixer. This beats more air out than a food processor, making a denser, sturdier base.
Finally, I temper my coating chocolate. Don’t let that word scare you. I use a shortcut method called “seeding” that guarantees a shiny, snap-able finish. I’ll walk you through it.
The “Upgraded” Ingredient List
Quality in, quality out. These simple upgrades matter.
- 1 (14.3 oz) package Oreo Cookies (Regular. Don’t get fancy yet.)
- 8 oz full-fat brick cream cheese, very cold
- 16 oz high-quality chocolate melting wafers or chopped baking chocolate (I prefer a mix of dark and semi-sweet)
- 1 tbsp refined coconut oil (for thinning chocolate, optional but recommended)
- Flaky sea salt, sprinkles, or crushed Oreos for topping
The Pro-Method (Step-by-Step)
Follow these steps in order. Trust the process.
- Crush to Dust: Pulse the entire pack of Oreos (filling included) in a food processor until it looks like fine, black sand. No pieces should remain.
- Mix Cold: In a stand mixer with the paddle, beat the cold cream cheese on medium until smooth. Add the Oreo crumbs and mix on low until it forms a cohesive, thick dough with no white streaks.
- Portion & Shape: Use a small cookie scoop (about 1 tbsp) to portion the dough. Roll each into a tight, smooth ball. Place on a parchment-lined baking sheet.
- The Critical Chill: Freeze the balls for 15 minutes, then transfer to the fridge for at least 1 hour 45 minutes (or overnight). They must be cold to the core.
- Prepare the Chocolate: Melt 2/3 of your chocolate wafers with the coconut oil in 20-second bursts, stirring well. Once melted, add the remaining 1/3 of unmelted wafers and stir until completely smooth and cooled slightly. This is the “seeding” method.
- Dip with Confidence: Using a fork or dipping tool, lower a cold truffle center into the chocolate. Tap off the excess. Place back on parchment and immediately add your topping before the shell sets.
- Set Completely: Let the chocolate set at room temperature. Do not refrigerate until fully set, or you risk condensation making the chocolate blotchy.
Common Mistakes & How to Fix Them
I’ve seen these errors a hundred times. Here’s how to beat them.
Problem: The chocolate coating is thick, clumpy, and won’t drip off.
Fix: Your chocolate is too hot or the wrong type. Use the seeding method above and add a touch of coconut oil. It thins it perfectly for a smooth flow.
Problem: The truffle center falls apart in the chocolate.
Fix: The center wasn’t cold enough, or the dough was under-mixed. Make sure your cream cheese was cold, and mix until it’s completely uniform. Then chill, chill, chill.
Problem: The finished chocolate has white streaks or blooms.
Fix: You refrigerated them before the chocolate fully set. Let them harden on the counter first. Also, make sure no water got into your melting chocolate.
Variations for the Adventurous Cook
Once you master the base, the world is yours. Try these pro swaps.
Swap the Oreos for Mint Oreos and use dark chocolate. Add a drop of peppermint extract to the filling for a real kick. For another coffee-infused dessert, our no-bake frosted coffee brownies are a must-try.
Use Golden Oreos and white chocolate. Roll the finished truffles in crushed freeze-dried raspberries for a stunning, tart contrast.
Add 2 tablespoons of smooth peanut butter to the cream cheese before mixing. Dip in milk chocolate and sprinkle with chopped salted peanuts.
Nutrition Notes
Let’s be real. This is a treat. Enjoy it as one.
- Serving Size: 1 truffle
- Calories: ~120
- Total Fat: 7g
- Saturated Fat: 4g
- Sugar: 10g
Your Pro-Level Questions Answered
These are the questions I get from fellow food lovers.
Can I really make these ahead for a gift?
Absolutely. They are a perfect gift idea. Layer them in a decorative box between sheets of parchment. They keep beautifully in the fridge for up to a week, or freeze for a month. Just thaw in the fridge.
My coating chocolate keeps cracking. What’s going on?
This is a temperature shock issue. Your truffle centers are too cold, or your chocolate is too hot. Let your chilled centers sit out for 2-3 minutes before dipping. And never dip a frozen ball into warm chocolate.
Is there a substitute for cream cheese?
For the right texture, no. Full-fat cream cheese is non-negotiable. Lower-fat versions have more water and will make a sticky, soft dough. For a dairy-free version, use a high-quality, firm vegan cream cheese alternative.
A Few Final Secrets
You now have the blueprint. Here are my parting gifts.
For a stunning look, use two different chocolate coatings. Dip half the truffle in dark, let it set, then dip the other half in white.
Add a tiny pinch of espresso powder to your dark chocolate coating. It won’t taste like coffee, but it will make the chocolate flavor explode.
Always keep your work area cool. I sometimes run my A/C or work near a fan in the summer. Chocolate is your friend, but heat is its enemy.
Now that you have the real secrets, go try it. I want to hear from you. Did the temperature control change your game? What variation did you create? Let me know in the comments below and rate this recipe if you loved it! And if you’re planning a party, don’t forget to check out our show-stopping churro cheesecake tacos with strawberry dip.