You’ve made peanut butter protein balls before. I know you have. They’re sticky, they’re sweet, and they get the job done.
But I bet they’ve never been truly perfect. They’re either too soft, too crumbly, or they taste like chalky protein powder. That ends today.
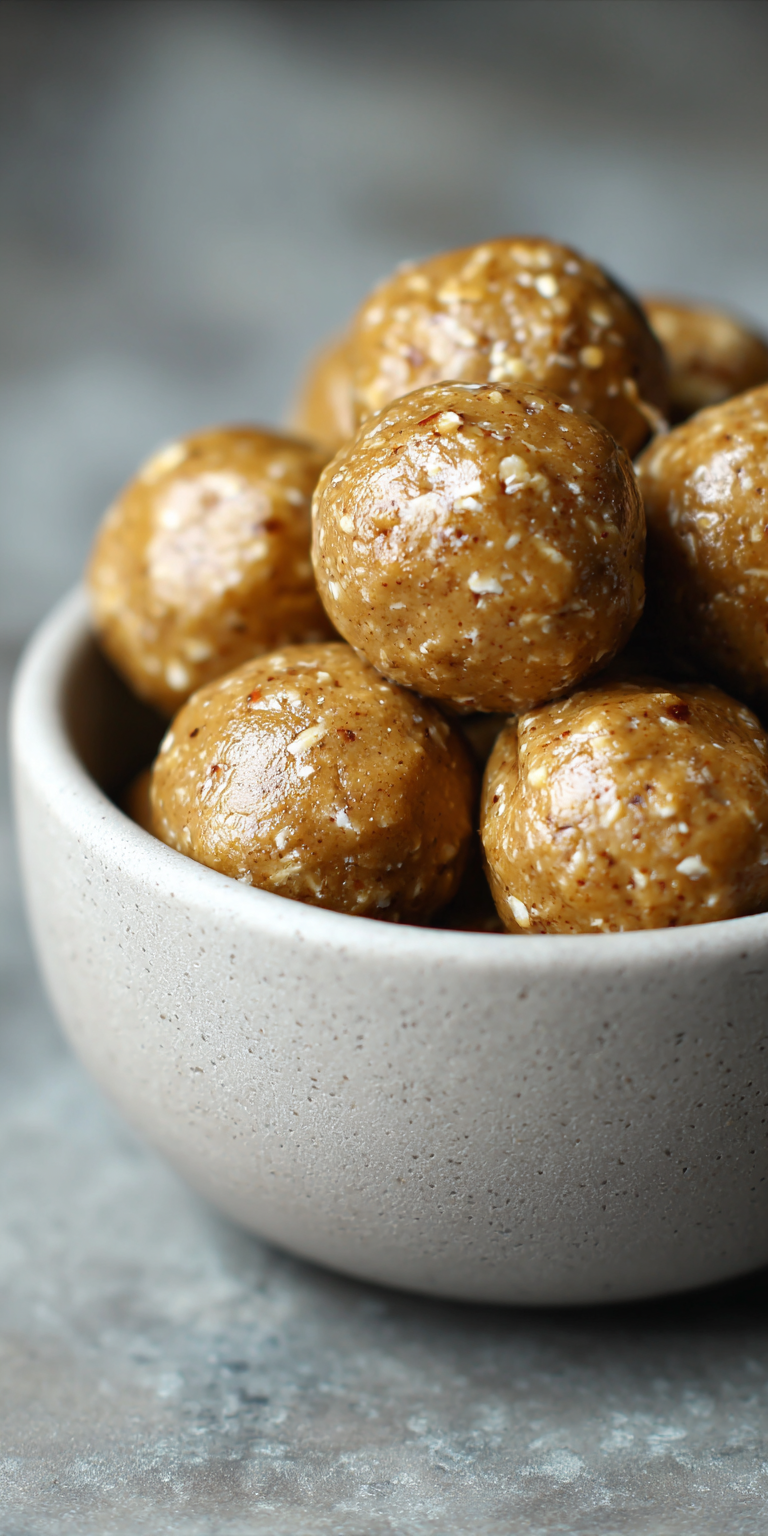
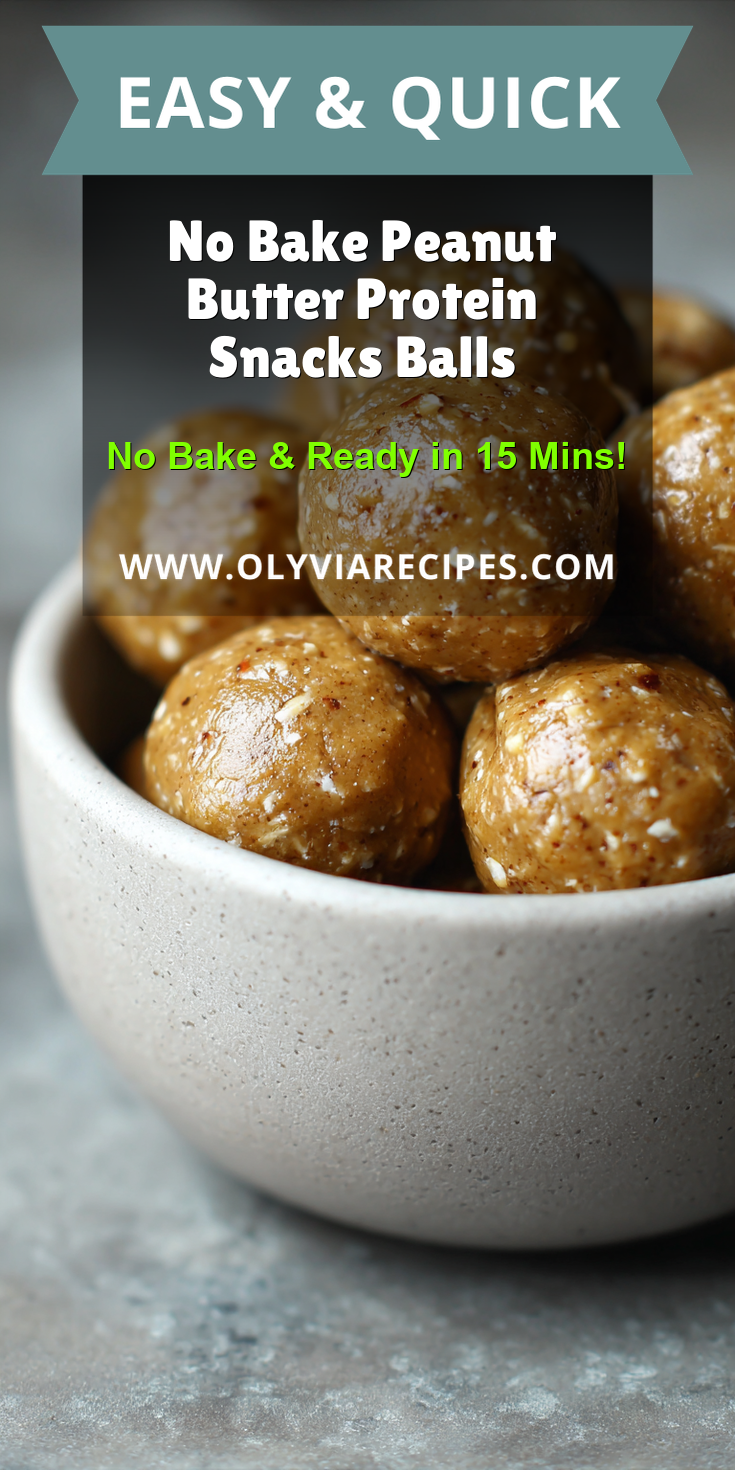
This No Bake Peanut Butter Protein Snacks Balls recipe has one secret ingredient that changes everything. It’s the difference between a good snack and a great one. Ready to find out what it is? If you love no-bake peanut butter treats, you should also try these Chunky Monkey Banana Bites.
Recipe Overview
Here’s the quick look at what we’re making. Simple on the surface, but with pro-level depth.
No Bake Peanut Butter Protein Snacks Balls Recipe

The “Upgraded” Ingredient List
The Pro-Method (Step-by-Step)
Notes
Enjoy your homemade No Bake Peanut Butter Protein Snacks Balls Recipe!
- Cuisine: American
- Category: Snack, Dessert
- Prep Time: 15 minutes
- Cook Time: 0 minutes
- Total Time: 15 minutes (+ chilling)
- Servings: 12-14 balls
The Secret Ingredient That Makes All the Difference
I’ve tested every binder under the sun. Honey, maple syrup, agave. They all work, but they leave a one-note sweetness.
The secret is date paste. Not whole dates, but a smooth paste you make yourself. It binds like a dream and adds a deep, caramel-like flavor.
It cuts the overt sweetness and lets the roasted peanut flavor shine. Your protein powder won’t know what hit it.
Why This Method is Better (My Pro-Tips)
Most recipes tell you to just mix and roll. That’s where they go wrong. Texture is king here.
My method focuses on layering the ingredients. You combine the wet elements first to form a glossy, homogenous paste. Then, you introduce the dry.
This stops over-mixing the oats. Over-mixed oats become gummy. We want a pleasant, chewy bite, not paste.
The “Upgraded” Ingredient List
Quality matters. This isn’t the place for the dusty can of peanut butter in the back of your cupboard.
- 1/2 cup smooth, natural peanut butter (just peanuts & salt)
- 1/3 cup pure date paste (see pro-method)
- 2 tbsp pure maple syrup or honey
- 1 tsp pure vanilla extract
- A pinch of fine sea salt
- 1/2 cup vanilla or chocolate protein powder (whey or plant-based)
- 1 cup old-fashioned rolled oats
- 2-3 tbsp ground flaxseed or chia seeds
- Optional: 2 tbsp mini dark chocolate chips
The Pro-Method (Step-by-Step)
Follow these steps in order. Trust the process.
- Make the Date Paste: Soak 4-5 soft Medjool dates in hot water for 5 minutes. Drain and pit them. Mash them with a fork into a smooth, sticky paste. Measure out 1/3 cup.
- Create the Wet Base: In a medium bowl, combine the peanut butter, the 1/3 cup date paste, maple syrup, vanilla, and salt. Stir with vigor until it’s completely smooth and silky.
- Incorporate Protein Powder: Add the protein powder to the wet mix. Stir until it forms a thick, fudgy dough. No dry spots allowed.
- Add Structure: Now, fold in the rolled oats, ground flaxseed, and chocolate chips (if using). Mix just until combined. The dough will be thick and a bit sticky.
- Chill to Set: Cover the bowl and refrigerate the dough for 20-30 minutes. This is non-negotiable. It firms up the fats and makes rolling clean.
- Portion and Roll: Use a tablespoon or small cookie scoop to portion the dough. Roll quickly between your palms to form tight, smooth balls.
- Final Set: Place the balls on a parchment-lined tray. Chill for another 30 minutes to firm up completely. Then, transfer to an airtight container.
Common Mistakes & How to Fix Them
Even pros run into issues. Here’s how to solve the big ones.
Problem 1: The dough is too dry and crumbly. You used a thick peanut butter or measured the oats wrong. Fix it by adding a teaspoon of milk or water at a time. Mix until it just comes together.
Problem 2: The balls are too soft and won’t hold shape. Your peanut butter was too runny, or you skipped the chilling step. Pop the whole bowl of dough back in the fridge for 45 minutes. The oats will absorb the excess moisture.
Problem 3: They taste like fake protein. Your protein powder is low quality or too strongly flavored. Next time, use a neutral vanilla or invest in a high-quality brand. For now, roll the finished balls in cocoa powder or cinnamon to mask it.
Variations for the Adventurous Cook
Mastered the base? Let’s play. These swaps take your game to the next level. For another fantastic frozen snack packed with protein, check out these High-Protein Peanut Butter Yogurt Bites.
Try almond butter or sunflower seed butter for a nut-free version. Use toasted buckwheat groats instead of half the oats for a serious crunch.
For a “cookie dough” vibe, use brown rice protein powder and fold in sprinkles. A pinch of espresso powder amplifies the chocolate notes beautifully.
Nutrition Notes
These aren’t just sweet treats. They’re fuel. Here’s the approximate breakdown per ball (makes 14).
- Calories: ~140
- Protein: 6-8g
- Carbohydrates: 14g
- Fiber: 2g
- Healthy Fats: 7g
Your Pro-Level Questions Answered
You have questions. I’ve got the insider answers.
Can I use quick oats instead of old-fashioned?
I don’t recommend it. Quick oats are cut smaller and absorb moisture too fast. They’ll make your energy bites mushy. Old-fashioned rolled oats give the perfect chewy texture.
How long do these really last in the fridge?
In a sealed container, they’re perfect for up to 2 weeks. You can also freeze them for 3 months. Let a frozen ball sit for 10 minutes before eating—it’s like a frozen peanut butter cup.
My date paste is lumpy. What did I do wrong?
Your dates were likely too dry. Next time, soak them longer in hot water. For now, use a small food processor or blender to blitz the soaked dates into a smooth paste. A mortar and pestle also works.
A Few Final Secrets
You’re now in the inner circle. Here are the last bits of intel to make you a true master of the protein ball.
For a glossy, pro finish, roll your set balls in a light coating of melted peanut butter and then a dusting of crushed, freeze-dried raspberries. The contrast is stunning.
Always use a scale to measure your protein powder. A “half cup” can vary wildly by brand. 60 grams is your target weight for the perfect dough consistency.
These are your new secret weapon. Keep a batch in your gym bag, your desk, your car. You’ll never reach for an overpriced, underwhelming bar again. And if you’re looking for a crunchy, fruit-based option, these Cinnamon Apple Snacks are a must-try.
Now that you have the secret, go try it! Did the date paste change the game for you? What’s your favorite variation? Let me know in the comments below—and don’t forget to rate this recipe!


