Some recipes just feel like a warm hug. For me, these No Bake Keto Peanut Butter Cups are one of them. They take me right back to my grandma’s kitchen, where the smell of melting chocolate and roasting peanuts was pure happiness. If you’re looking for more toddler-approved healthy bites that capture that same spirit of simple joy, you’re in the right place.
We all crave that perfect sweet and salty bite. But sometimes, we want to keep things simple and kind to our bodies. This recipe is my answer to that craving. It’s a classic treat made new again.
It’s a no-fuss, no-bake dessert that comes together in minutes. You get all the comfort of a childhood favorite, without any of the guilt. Let’s make some magic together.
Recipe Overview
- Cuisine: American
- Category: Dessert / Snack
- Prep Time: 15 minutes
- Cook Time: 0 minutes
- Total Time: 15 minutes (plus chilling)
- Servings: 12 peanut butter cups
The Story Behind This Classic Recipe
I can still see my grandma’s hands, steady and sure, spooning peanut butter filling into little paper cups. Her version was full of sugar, of course. But the spirit was all about sharing a moment of pure, simple joy.
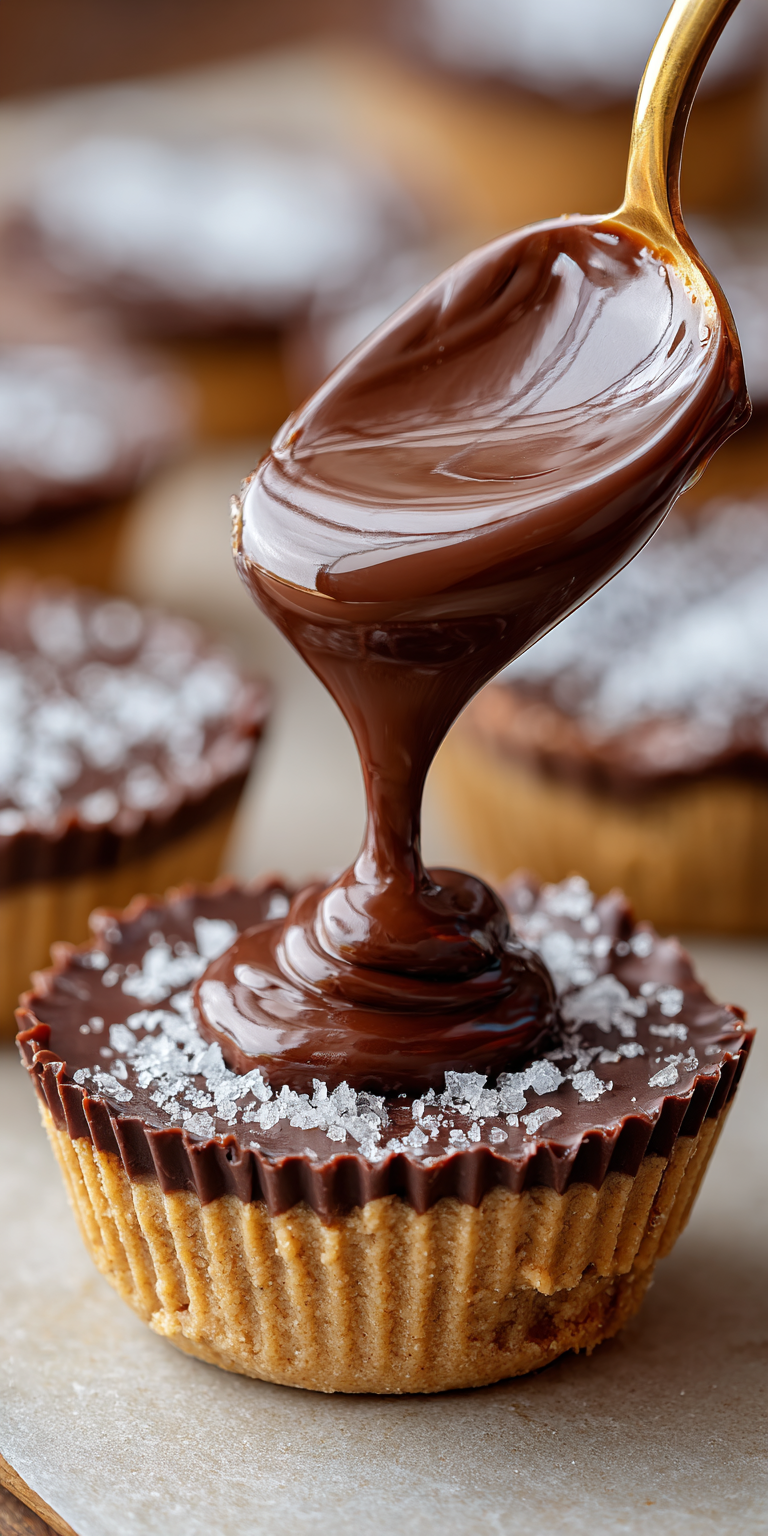
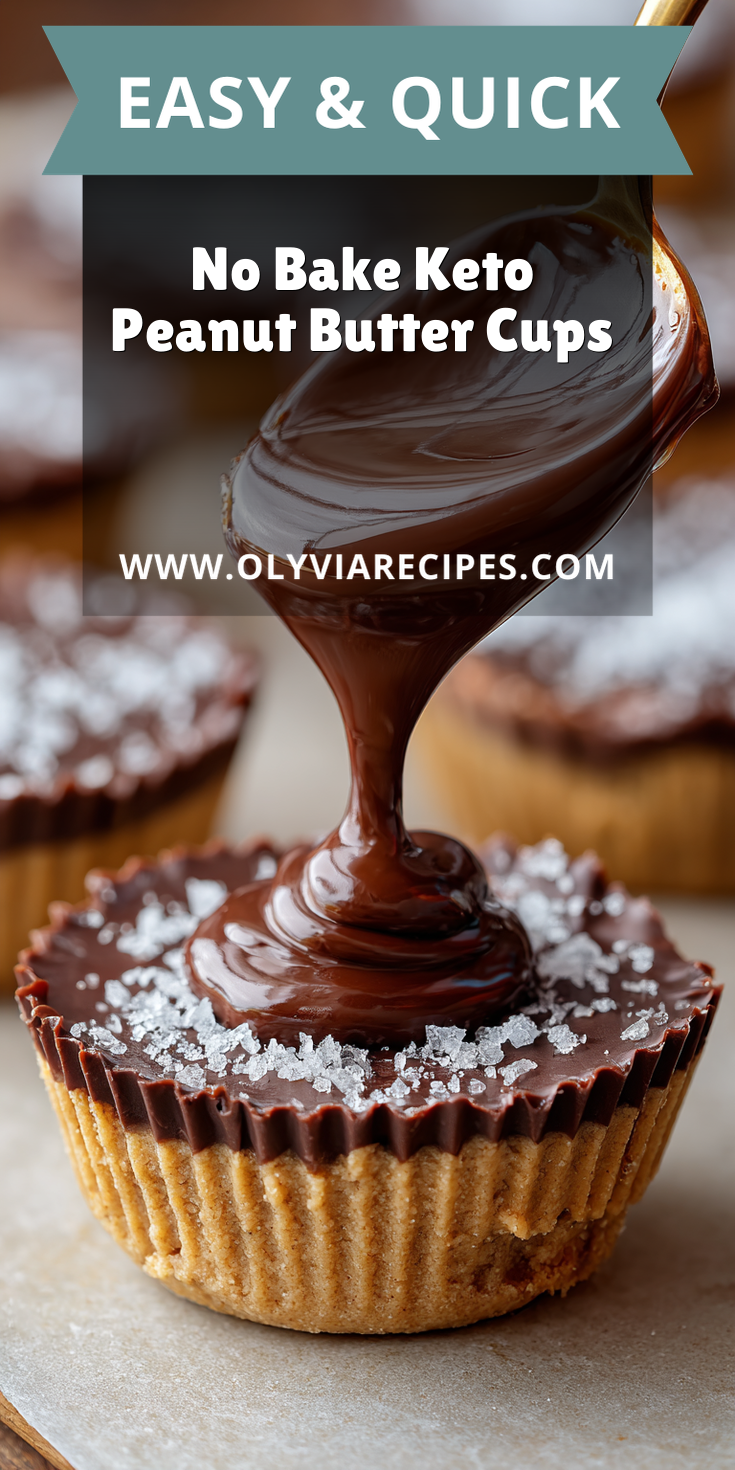
No Bake Keto Peanut Butter Cups Recipe

The Classic Ingredients (No Fancy Stuff!)
How to Make It Just Like Grandma Did
Notes
Enjoy your homemade No Bake Keto Peanut Butter Cups Recipe!
I wanted to capture that same feeling in my own kitchen. When I started eating a keto-friendly way, I missed those little cups of comfort. So, I set out to create a version that honored her memory.
It had to be just as creamy. Just as rich. And it absolutely had to satisfy that deep, nostalgic craving. After many happy experiments, this recipe was born. It’s my kitchen love letter to her.
What Makes This the *Traditional* Way
For me, the traditional way is about honoring the original flavors. It’s not about fancy techniques or hard-to-find items. It’s about the soul of the dish.
We use real, simple ingredients. Good peanut butter, quality chocolate, and a touch of sweetness. The method is the same timeless one: a layer of chocolate, a dollop of filling, and another blanket of chocolate on top. For another fantastic no-bake treat that uses peanut butter and chocolate, you have to try these Chunky Monkey Banana Bites.
We just swap the sugar for a keto-friendly sweetener. That’s the only real change. The heart of the recipe, that perfect salty-sweet balance, stays beautifully intact.
The Classic Ingredients (No Fancy Stuff!)
This is where the magic starts. Every ingredient here has a job to do, creating that perfect texture and taste. You probably have most of this in your pantry right now.
- 1 cup sugar-free chocolate chips
- 1/2 cup creamy, natural peanut butter (no added sugar)
- 3 tablespoons softened butter or coconut oil
- 3-4 tablespoons powdered erythritol, to taste
- 1/2 teaspoon pure vanilla extract
- A tiny pinch of fine sea salt
How to Make It Just Like Grandma Did
Don’t let the simplicity fool you. These steps create little layers of joy. Just follow along, and you’ll have a perfect batch in no time.
- First, line a 12-cup muffin tin with paper or silicone liners. This makes everything so easy later.
- Gently melt the chocolate chips. You can use a double boiler or microwave in short bursts, stirring often until it’s smooth.
- Spoon a small amount of melted chocolate into the bottom of each liner. Just enough to coat it. This is your foundation.
- Pop the tin into the freezer for about 10 minutes. This sets the base so the layers stay separate.
- While that chills, make the filling. In a bowl, mix the peanut butter, softened butter, powdered erythritol, vanilla, and salt. Stir until it’s completely smooth and creamy.
- Take the tin from the freezer. Divide the peanut butter filling evenly among the cups, pressing it gently over the set chocolate layer.
- Now, cover each peanut butter mound with the remaining melted chocolate. Make sure to seal the edges completely.
- Chill the whole tin in the refrigerator for at least one hour, until the chocolate is firm and set. Then, they’re ready to enjoy!
My Tips for Perfecting This Classic
A couple of little secrets can make a big difference. These tips will help you get that perfect, bakery-style result every single time.
First, make sure your peanut butter is well-stirred. Natural peanut butter can separate. A consistent, creamy texture is key for that smooth filling.
Second, don’t skip the pinch of salt. It might seem small, but it’s what makes the peanut butter and chocolate flavors really pop. It cuts the richness perfectly.
How to Store and Enjoy Later
These little cups are perfect for making ahead. They keep beautifully, so you always have a treat on hand for when a craving strikes.
Store them in a sealed container in the refrigerator. They’ll stay fresh and firm for up to two weeks. You can also freeze them for a few months for a longer-term stash.
I like to let them sit at room temperature for just a minute or two before eating. It softens the chocolate slightly, making each bite even more luxurious.
Nutrition Notes
This is a treat, but it’s one made with good-for-you fats. Here’s a general look at what’s in one peanut butter cup. Remember, values can vary based on your specific ingredients.
- Calories: ~150
- Fat: 13g
- Net Carbs: 2-3g
- Protein: 4g
Your Questions About This Classic Recipe
I get a few questions about this recipe all the time. Here are the answers to help you on your way.
Can I use a different nut butter?
Absolutely! Almond butter works wonderfully here. Just make sure it’s the creamy, natural kind without added sugars. The flavor will be a little different, but just as delicious.
My filling is too runny. What happened?
This usually means your peanut butter was very oily or your kitchen is quite warm. Pop the filling mixture in the fridge for 15 minutes to firm up before spooning it into the cups. That should fix it right up.
What other sweeteners can I use?
You can use other powdered keto sweeteners like monk fruit or allulose. I like erythritol for its neutral taste, but feel free to use what you have and love. Just keep it powdered for the smoothest texture.
I hope this recipe brings a little bit of that old-fashioned kitchen comfort into your home. It’s a simple pleasure, but sometimes those are the very best ones. For another fantastic, mess-free toddler treat that’s perfect for little hands, give these oat cups a try.
Making these always makes me smile, and I hope it does the same for you. There’s nothing quite like sharing food made with love.
Did you make these classic no-bake cups? I would love to hear about it! Please share your own stories or any twists you tried in the comments below. And if you loved them, leave a rating to let others know!