You’ve made a microwave mug cookie before. I know you have.
It was probably a bit cakey, maybe a touch rubbery, and never quite scratched that real cookie itch. I’ve been there too.
But what if I told you the classic Microwave Mug Chocolate Chip Cookie has a fatal flaw? And I’ve found the one secret ingredient that fixes it for good. Ready to bake the only single-serve cookie you’ll ever need? If you love pumpkin season, you might also enjoy our Pumpkin Zucchini Chocolate Chip Bread for another easy treat.
Recipe Overview
This is your blueprint for instant cookie perfection. Bookmark this.
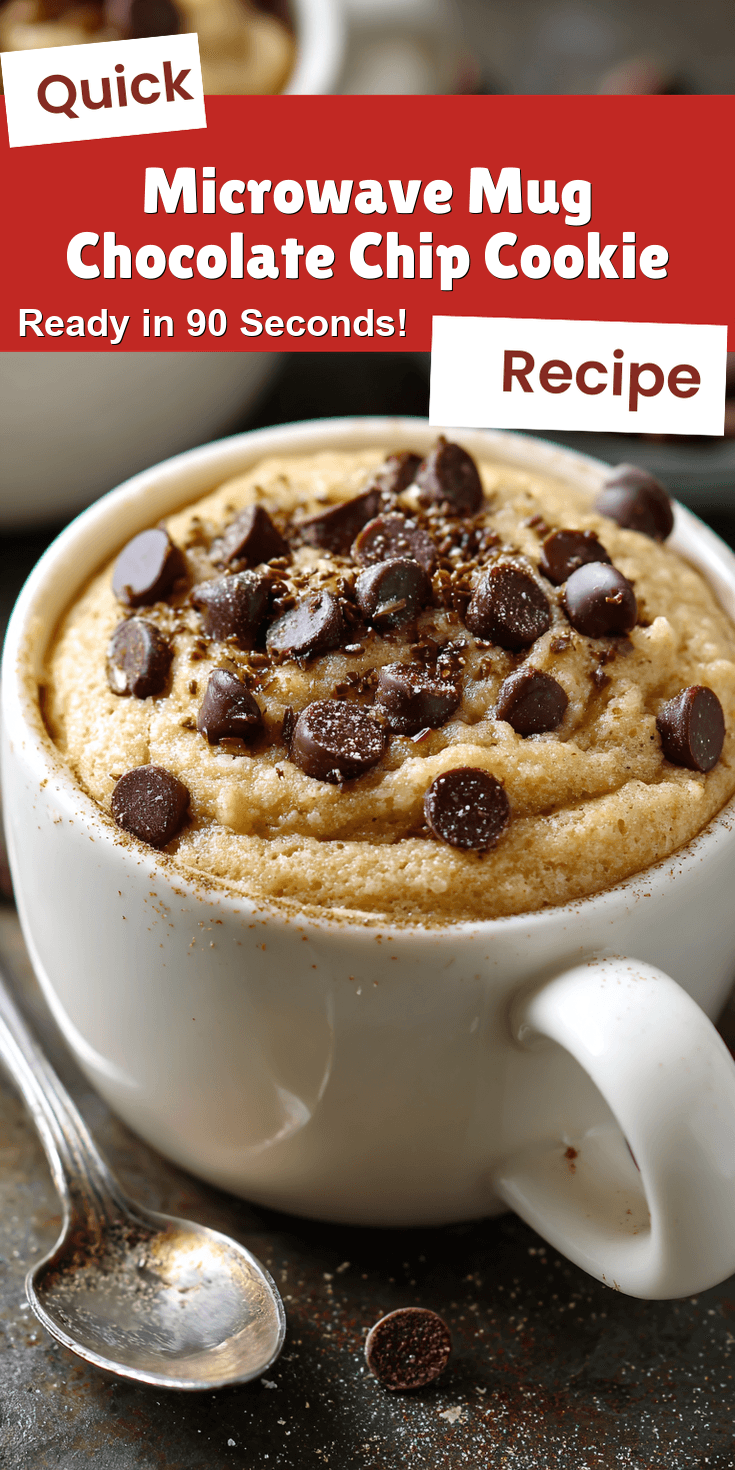
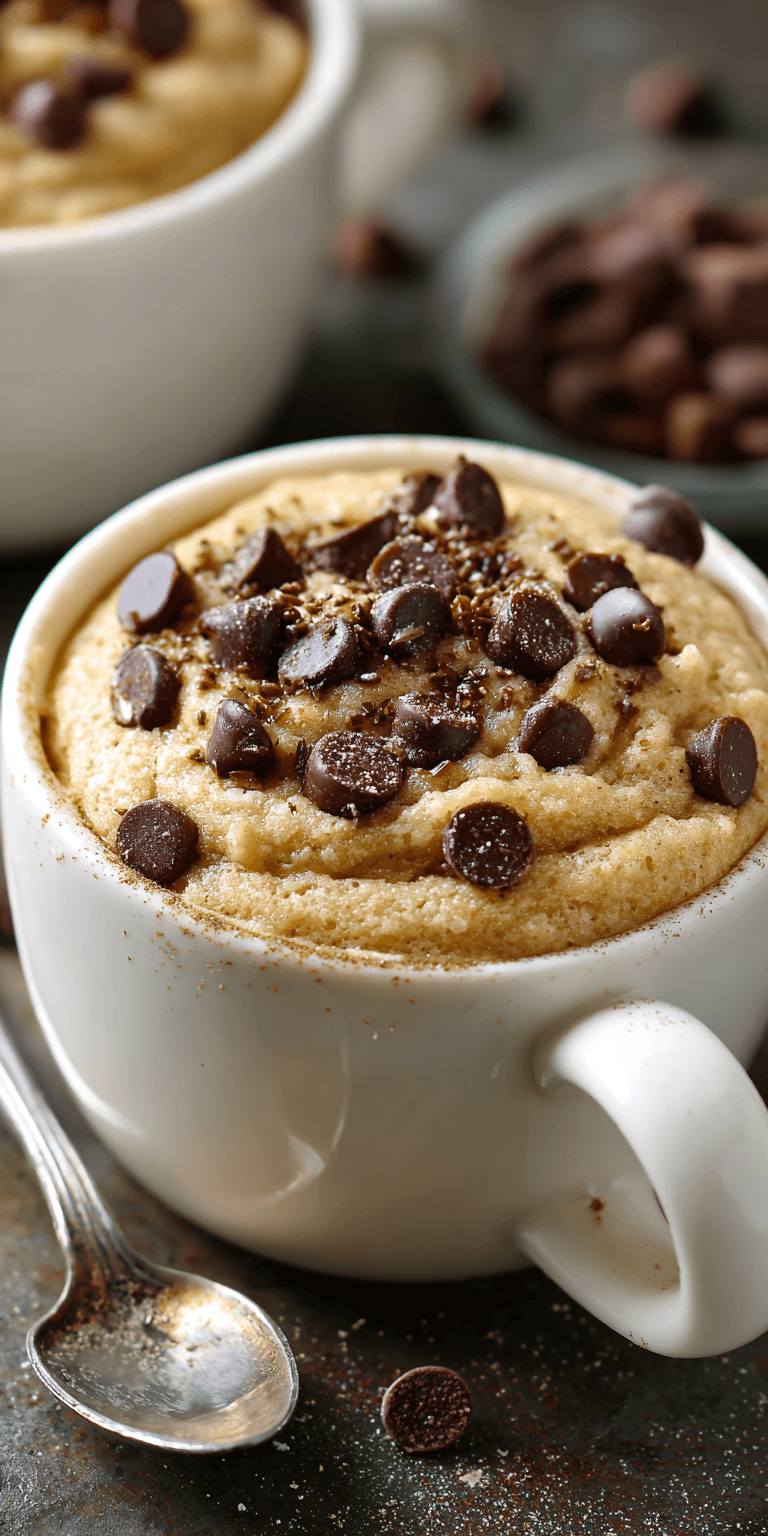
Microwave Mug Chocolate Chip Cookie Recipe
The “Upgraded” Ingredient List
The Pro-Method (Step-by-Step)
Notes
Enjoy your homemade Microwave Mug Chocolate Chip Cookie Recipe!
- Cuisine: American
- Category: Dessert
- Prep Time: 3 minutes
- Cook Time: 1 minute
- Total Time: 4 minutes
- Servings: 1 (a very generous one)
The Secret Ingredient That Makes All the Difference
Here it is. The game-changer. It’s not espresso powder or sea salt, though we’ll use those too.
The secret is one extra teaspoon of brown sugar. Not white sugar. Brown sugar.
Most mug recipes use equal parts or skip it. That’s their mistake. Brown sugar contains molasses, which adds moisture and a deeper, caramel-like flavor. In a microwave, where things dry out fast, this extra bit of molasses-rich sugar is your insurance policy. It keeps the center soft and fudgy while the edges set. This is the core of our pro method.
Why This Method is Better (My Pro-Tips)
I treat this like a real cookie dough, not a cake batter. That mindset shift changes everything.
First, we cream the butter and sugar with a fork. Yes, in the mug. This incorporates air, just like with a stand mixer. It gives the cookie a better texture. Second, we under-mix the flour. Stop the second it’s combined. Over-mixing makes it tough. Finally, we don’t just nuke it. We watch and stop based on look, not just time.
The “Upgraded” Ingredient List
Quality in, quality out. This is a small recipe, so every component shines.
- 1 tbsp unsalted butter, softened (not melted!)
- 1 tbsp granulated white sugar
- 1 tbsp + 1 tsp packed dark brown sugar (that’s the secret +1)
- 1/4 tsp pure vanilla extract
- 1 pinch fine sea salt
- 1 large egg yolk (save the white for breakfast)
- 3 tbsp all-purpose flour
- 2 tbsp semi-sweet chocolate chips (plus a few more for topping)
The Pro-Method (Step-by-Step)
Follow these steps exactly. This is where the magic happens.
- In a standard 12-oz mug, use a fork to mash the softened butter, white sugar, and brown sugar together. Mash for a good 30 seconds until it looks like a coarse, creamy paste.
- Add the vanilla, sea salt, and egg yolk. Mix with the fork until it’s smooth and all one color.
- Add the flour. Use a light hand. Stir just until no dry streaks remain. This should take less than 10 seconds.
- Fold in the 2 tbsp of chocolate chips. Press a few extra chips on top for that bakery-style look.
- Microwave on high for 40 seconds. It will look soft. This is good. If the center looks very wet, add 10-15 more seconds. It will firm up as it rests. Let it sit in the microwave for 1 full minute before eating.
Common Mistakes & How to Fix Them
Even pros make errors. Here’s how to avoid the big ones.
The Rubber Cookie: You used a whole egg. The white protein overcooks and turns rubbery in the microwave. The fix is simple: use only the yolk. It gives richness without the chew.
The Lava Cake Imposter: You pulled it out while the center was still liquid. Microwaves vary. If it’s too wet after the rest, next time add 5-second increments. Remember, it continues to cook from residual heat in the mug.
Variations for the Adventurous Cook
Mastered the base? Let’s play. These are my favorite high-level swaps.
Swap the vanilla for 1/8 tsp of almond extract. Add a tablespoon of chopped toasted pecans with the chips. It’s incredible.
Brown your butter first. Melt the tablespoon of butter in a small pan until it turns golden and nutty. Let it cool slightly before using. This adds a whole new layer of flavor, much like in our decadent Brown Butter Pumpkin Chocolate Chip Cookies.
Make it a “kitchen sink” cookie. Add a tablespoon of quick oats and use a mix of chocolate chips, butterscotch chips, and a few crushed potato chips for salt and crunch.
Nutrition Notes
This is a treat, not a salad. But here are the facts.
- Calories: ~450
- Total Fat: 25g
- Saturated Fat: 15g
- Carbohydrates: 52g
- Sugar: 36g
- Protein: 5g
Your Pro-Level Questions Answered
These are the questions I get from fellow baking nerds.
Can I really cream butter and sugar in a mug?
Absolutely. The goal isn’t to replicate a 5-minute stand mixer fluff. It’s to combine them thoroughly and introduce a few tiny air pockets. That little bit of effort breaks down the sugar granules and starts the emulsion with the butter, leading to a better final texture. Don’t skip it.
Why dark brown over light brown sugar?
More molasses. That’s it. Dark brown sugar has nearly double the molasses of light brown. It gives a more robust flavor and even more moisture insurance. If you only have light brown, use it. But try dark next time.
My mug cookie always overflows. Help?
Your mug is too small. Use a standard 12-ounce coffee mug, not a little teacup. The batter should only fill it about 1/3 of the way before cooking. It needs room to rise.
A Few Final Secrets
You’re now in the inner circle. Here are my parting gifts.
Always use a dry mug. Any water droplets will create weird steam pockets. For the ultimate experience, pre-warm your mug with hot tap water for a minute, then dry it thoroughly. A warm start helps the batter cook more evenly from the edges in.
That rest time is non-negotiable. It lets the residual heat finish the cooking gently and allows the structure to set. You’ll get a perfect, eat-it-with-a-spoon cookie every time.
Now that you have the secret, go try it! I want to hear from you. Did that extra teaspoon of brown sugar change the game? What wild variation did you create? Let me know your results in the comments below and give this recipe a rating if it solved your late-night dessert cravings! For another perfect pumpkin and chocolate combo, be sure to check out our soft and chewy Pumpkin White Chocolate Chip Cookies.