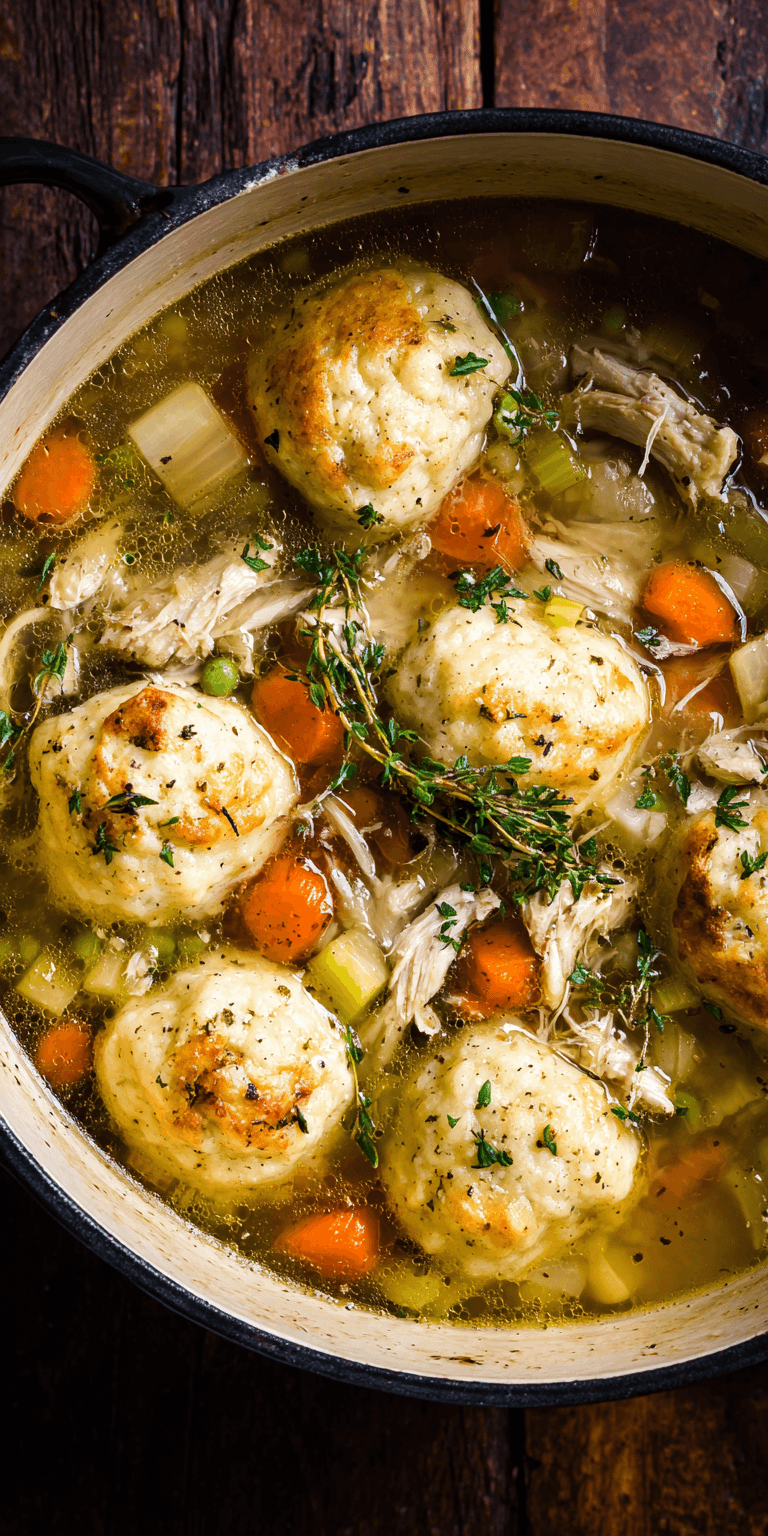
Last weekend, I was cleaning out my recipe binder and stumbled upon a faded note from my mom—her handwritten recipe for what she called “cheesy pinwheels.” It was a simple list: bread, cheese, butter. But those three ingredients transformed into the most magical Grilled Cheese Roll-Ups – Gooey Portable Comfort Food I’ve ever tasted. I’ve tweaked her method over the years, and now this is my go-to for busy days, playdates, and even last-minute parties. The moment you bite into one, the crispy exterior gives way to a molten, stretchy cheese center that just feels like a hug from the inside. If you’re looking for more comforting pasta dishes, you should definitely try our delicious chicken spaghetti recipe.

What I love about this recipe is how it turns ordinary ingredients into something extraordinary. You probably have everything you need in your kitchen right now, and in less than 20 minutes, you can have a plateful of these golden, savory spirals. They’re perfect for dipping in marinara or enjoying on their own, and they’ve saved me more times than I can count when my kids declared they were “starving” five minutes before we had to leave for soccer practice. One thing I’ve learned: always make a double batch, because they disappear faster than you can say “more please!”
Recipe Overview
Cuisine: American
Category: Snack, Appetizer
Prep Time: 10 minutes
Cook Time: 8 minutes
Total Time: 18 minutes
Servings: 4 people (about 12 roll-ups)
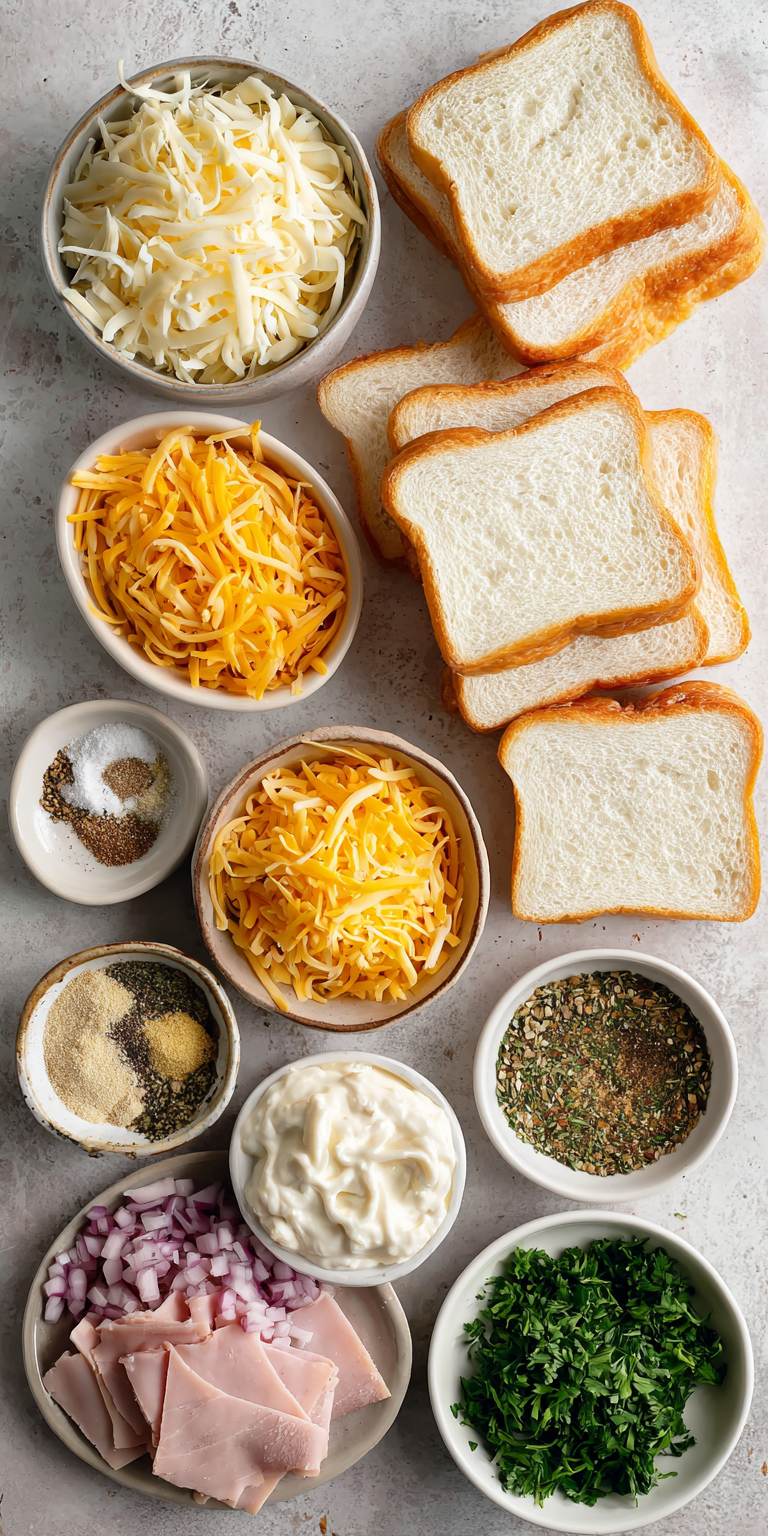
What You’ll Need
When I first started making these, I’d grab whatever bread and cheese were on sale, but I’ve since discovered that using slightly stale sandwich bread works wonders—it rolls out thinner without tearing. For the cheese, I prefer a blend of mozzarella for that iconic stretch and cheddar for sharpness, but don’t stress if you only have one type. A non-stick skillet is my top pick for even browning, though a griddle pan does the trick too. Quick tip: if you’re making these for a crowd, keep them warm in a 200°F oven on a baking sheet lined with parchment paper.
Grilled Cheese Roll-Ups – Gooey Portable Comfort Food Recipe

What You’ll Need
INGREDIENTS
PREPARATION
Notes
Enjoy your homemade Grilled Cheese Roll-Ups – Gooey Portable Comfort Food Recipe!
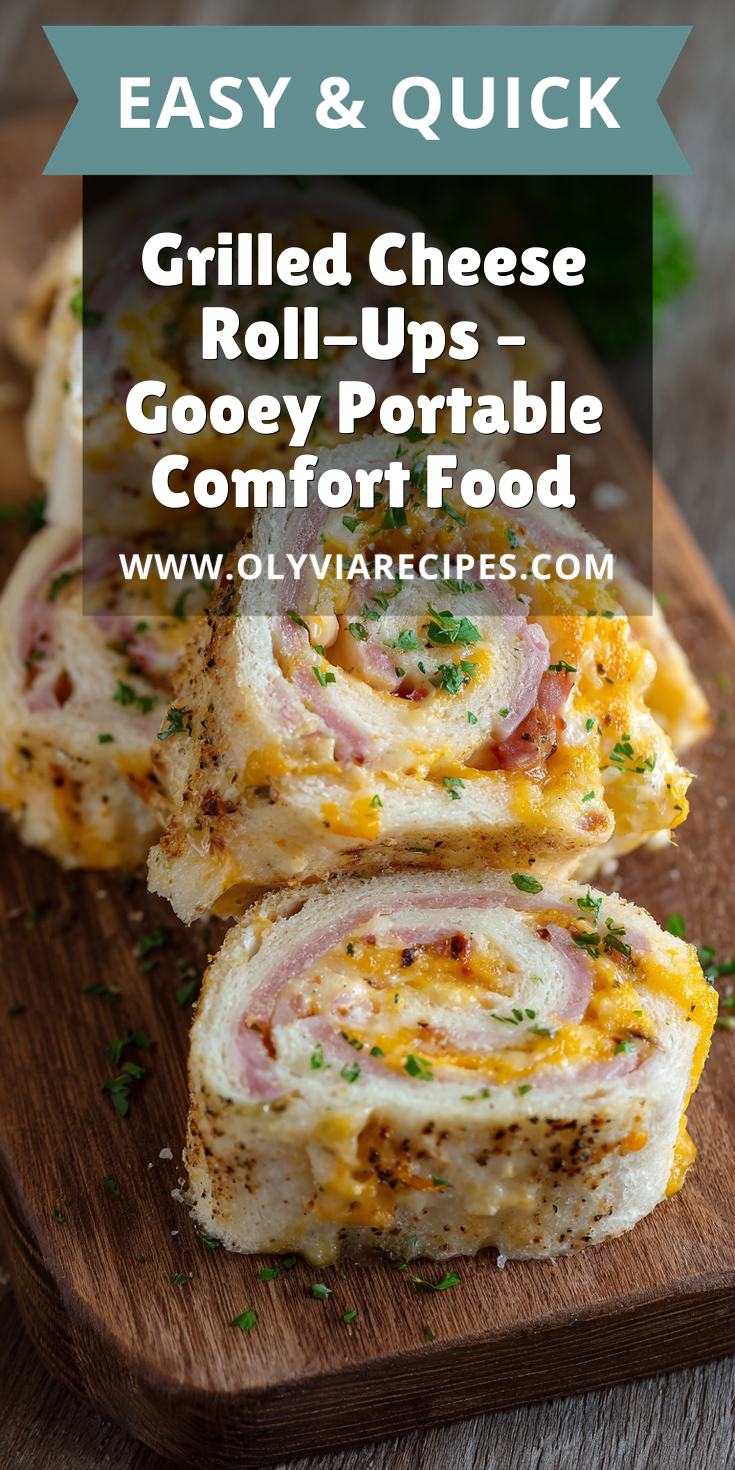
- Bread: Provides the base and gets wonderfully crispy when rolled and cooked.
- Cheese: Melts into gooey pockets that make every bite irresistible.
- Butter: Helps achieve that golden-brown crust and adds rich flavor.
- Seasonings (optional): Enhance the taste with herbs or spices.
INGREDIENTS
I remember one hectic afternoon when I realized I was out of cheddar—panic set in until I shredded some pepper jack instead. The result was a spicy twist that my husband still requests! From experience, freshly grated cheese melts more evenly than pre-shredded, which often has anti-caking agents. If you’re catering to picky eaters, stick with mild cheeses, but feel free to experiment with gouda or provolone for more depth.
- 8 slices white or whole wheat sandwich bread, crusts removed
- 1 cup shredded mozzarella cheese
- 1/2 cup shredded cheddar cheese
- 3 tablespoons unsalted butter, softened
- 1/2 teaspoon garlic powder (optional)
- 1/4 teaspoon dried oregano (optional)
PREPARATION
The first time I made these, I rolled the bread too thick and ended up with doughy centers—lesson learned! Now I use a rolling pin to flatten each slice paper-thin, which ensures they crisp up beautifully. A common mistake is overfilling with cheese; aim for a tablespoon per slice to prevent leaks. You’ll know they’re done when they’re golden and firm to the touch, with cheese bubbling at the edges. For another comforting meal that’s perfect for chilly evenings, check out our hearty Thai ginger pumpkin coconut soup.
- Step 1: Lay bread slices on a cutting board and use a rolling pin to flatten them evenly.
- Step 2: In a bowl, mix mozzarella, cheddar, and optional seasonings until combined.
- Step 3: Spread about 1 tablespoon of the cheese mixture onto each bread slice, leaving a small border.
- Step 4: Tightly roll each slice from one end to the other, pressing gently to seal.
- Step 5: Heat a skillet over medium heat and brush with half the butter.
- Step 6: Place roll-ups seam-side down and cook for 3–4 minutes, turning occasionally, until golden brown.
- Step 7: Brush with remaining butter during cooking for extra crispiness.
- Step 8: Transfer to a plate, let cool for a minute, and serve warm.
NUTRITION INFORMATION
- Calories: 180 per serving
- Carbohydrates: 15g
- Protein: 8g
- Fat: 10g
- Saturated Fat: 6g
- Cholesterol: 25mg
- Sodium: 220mg
- Fiber: 1g
- Sugar: 2g
Creative Variations for Every Occasion
One of my favorite things about this dish is how adaptable it is. For football food gatherings, I add a pinch of cayenne to the cheese mix and serve them with ranch dip—they’re always the first to vanish. If I’m packing kids lunch box meals, I’ll swap in whole-grain bread and add a thin layer of cream cheese to keep the rolls moist. Around here, we’ve even turned them into pizza roll ups by spreading a teaspoon of marinara sauce before rolling; it’s like having mini calzones without the fuss. What works for me is keeping a batch in the freezer before cooking; just pop them straight into the skillet for a quick snack anytime.
Why This Recipe Is a Lifesaver for Busy Families
I appreciate how this recipe fits into so many moments—whether it’s a movie night dinner or easy toddler meals for my picky eater. The beauty of these roll-ups is their portability; they don’t crumble like traditional sandwiches, making them ideal for daycare meals or car rides. In my house, we’ve made them together on lazy Sundays, and my kids love customizing their own with different cheeses. A tip I’ve learned: if you’re short on time, prep the rolls ahead and refrigerate them for up to a day—just cook when ready. The aroma of butter and toasty bread filling your kitchen is pure comfort, and seeing those happy faces makes it all worthwhile. If you enjoy creamy pasta dishes, you’ll love our satisfying creamy beef and shells recipe.
FREQUENTLY ASKED QUESTIONS
Can I make these ahead of time?
Absolutely! Assemble the Grilled Cheese Roll-Ups – Gooey Portable Comfort Food and store them in an airtight container in the fridge for up to 24 hours before cooking. This recipe holds up well, so you can bake or pan-fry them when needed.
What’s the best cheese for melting?
I find that mozzarella and cheddar blend beautifully for that stretchy texture. The dish works with most semi-soft cheeses, so feel free to experiment based on what you have on hand.
How do I prevent the rolls from unraveling?
Make sure to press the seam firmly after rolling, and cook it seam-side down first. It helps seal the edges and keeps everything intact while frying.
Conclusion
This Grilled Cheese Roll-Ups – Gooey Portable Comfort Food recipe has become a staple in my kitchen for its simplicity and crowd-pleasing appeal. Whether you’re whipping up fun easy recipes for a party or need quick recipes snacks for hungry little ones, it delivers every time. I’d love to hear how you make it your own—tag me on social media with your creations! From my family to yours, happy cooking.