You’ve made stuffed bell peppers before. We all have. But I bet they were a bit dry, maybe a little bland, or the rice stuffing just didn’t sing.
Your classic Corned Beef Stuffed Bell Peppers recipe is about to get a serious upgrade. I’m sharing the one secret ingredient that changes everything, turning a simple dish into a showstopper.
Ready to find out what it is? This isn’t just about stuffing a pepper. It’s about building layers of flavor for a healthy dinner that’s naturally gluten free and packed with a cheesy, savory punch.
Recipe Overview
Here’s the quick look at what we’re making today. It’s simpler than you think, but the results are anything but basic.
- Cuisine: American Fusion
- Category: Main Course
- Prep Time: 20 minutes
- Cook Time: 35 minutes
- Total Time: 55 minutes
- Servings: 4-6
The Secret Ingredient That Makes All the Difference
I’ve tested countless versions of this dish. The game-changer isn’t a fancy spice. It’s Russian or Thousand Island dressing.
Hear me out. That tangy, creamy, slightly sweet dressing does three things. First, it adds a crucial layer of moisture to the corned beef and rice stuffing, preventing any dryness.
Second, its acidity cuts through the richness of the meat and cheese. Finally, it brings a subtle complexity that makes people ask, “What is *in* this?” That’s the secret you’ve been missing.
Why This Method is Better (My Pro-Tips)
Most recipes tell you to parboil the peppers. I say skip it. Parboiling washes away flavor and gives you a soggy vessel.
My method? We roast them naked first. A quick 15-minute roast in a hot oven softens the peppers perfectly. It also concentrates their natural sweetness and gives them a smoky edge.
This creates a sturdier, more flavorful “bowl” for our incredible stuffing. It’s a simple swap with a massive payoff in texture and taste.
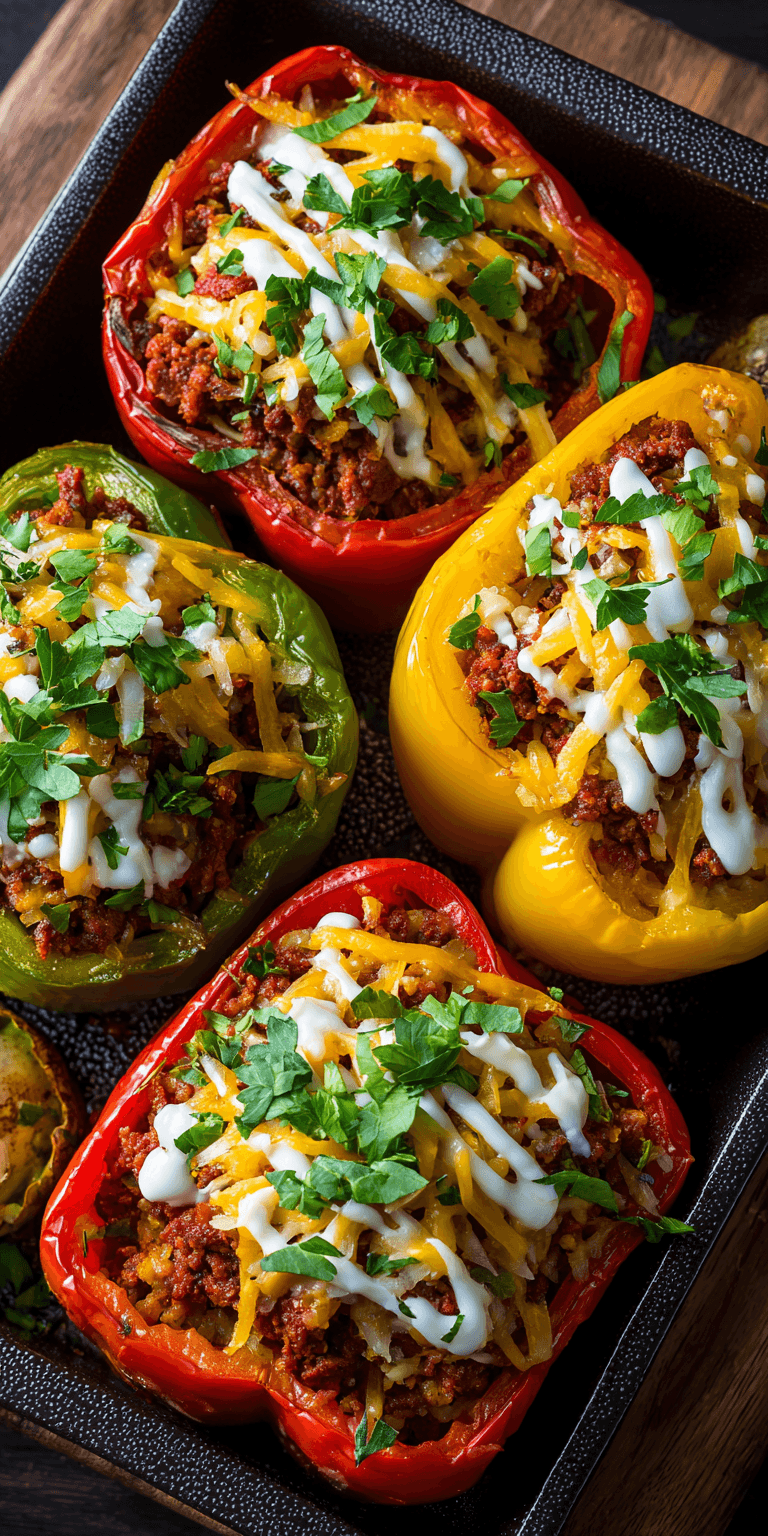
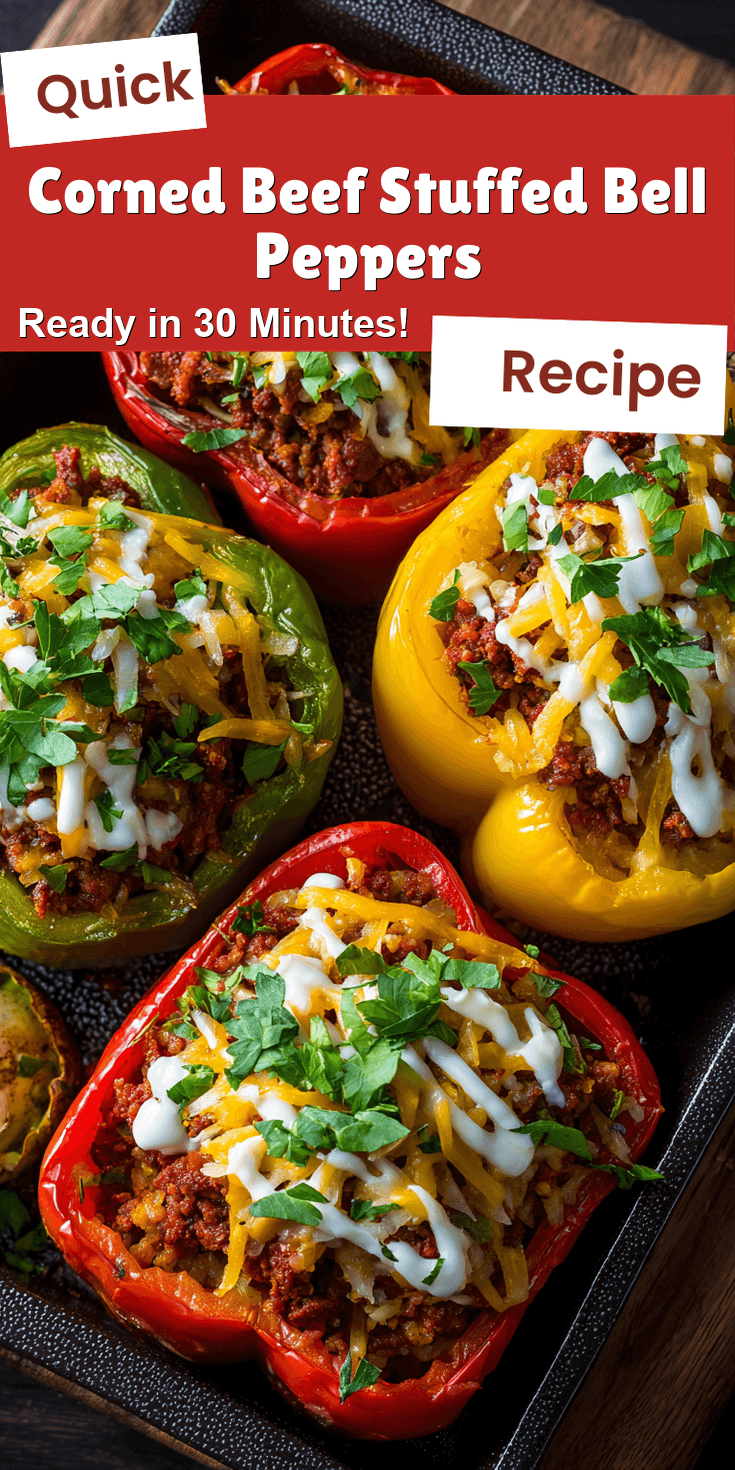
Corned Beef Stuffed Bell Peppers Recipe
The “Upgraded” Ingredient List
The Pro-Method (Step-by-Step)
Notes
Enjoy your homemade Corned Beef Stuffed Bell Peppers Recipe!
The “Upgraded” Ingredient List
Every component here has a job. This isn’t just a list; it’s a blueprint for flavor.
- 4 large bell peppers (any color), halved lengthwise, seeds removed
- 1 tbsp olive oil
- 1 small yellow onion, finely diced
- 2 cloves garlic, minced
- 1 (12 oz) can corned beef, broken into small chunks
- 1 1/2 cups cooked white rice (day-old is perfect)
- 1/2 cup Russian or Thousand Island dressing
- 1 tsp Worcestershire sauce
- 1/2 tsp black pepper
- 1 1/2 cups shredded cheese blend (I use equal parts sharp cheddar and Monterey Jack)
- Fresh parsley or chives for garnish (optional)
The Pro-Method (Step-by-Step)
Follow these steps in order. This sequence is designed to build flavor at every single stage.
- Heat your oven to 400°F (200°C). Place your pepper halves cut-side up on a baking sheet. Drizzle lightly with olive oil and a pinch of salt. Roast for 12-15 minutes just until they start to soften. Remove and set aside. Lower oven to 375°F (190°C).
- While peppers roast, heat olive oil in a large skillet over medium heat. Add the diced onion and cook until soft and translucent, about 5 minutes. Add the garlic and cook for 1 more minute until fragrant.
- Add the chunks of corned beef to the skillet. Use your spoon to break it down further and mix it with the onions. Cook for 3-4 minutes, letting it get a little crispy in spots.
- Remove the skillet from the heat. Stir in the cooked rice, the Russian dressing, Worcestershire sauce, and black pepper. Mix until everything is beautifully combined and moist.
- Fold in 1 cup of the shredded cheese. This creates a glue that holds the stuffing together and guarantees that epic cheese melt inside.
- Divide the stuffing evenly among the pre-roasted pepper halves, packing it in gently. Top each pepper with the remaining 1/2 cup of cheese.
- Bake at 375°F for 20-25 minutes, until the cheese on top is bubbly and golden, and the peppers are tender.
- Let them cool for 5 minutes before serving. This rest allows the filling to set so it doesn’t spill out everywhere. Garnish with fresh herbs if you like.
Common Mistakes & How to Fix Them
Even pros run into issues. Here’s how to solve the big ones before they happen.
Mistake #1: A watery, soupy filling. This usually comes from using freshly cooked, hot rice. Hot rice steams in the oven and creates moisture. Always use cooled or day-old rice. It absorbs the dressing and meat juices instead of releasing water.
Mistake #2: Rubbery, tough corned beef. You’re overcooking it in the skillet. We just want to warm it through and mix it with the onions. A few minutes is plenty. The real cooking happens in the oven.
Mistake #3: Soggy pepper bottoms. If you skip the pre-roast, the peppers release all their water into the pan while baking. Pre-roasting solves this. For extra insurance, you can blot the inside of the peppers with a paper towel after roasting.
Variations for the Adventurous Cook
Mastered the base recipe? Try these pro-level swaps to make it your own. If you love the idea of a hearty, stuffed vegetable, you must try our Ground Beef & Potato Stuffed Zucchini for another easy weeknight winner.
Swap the rice for cooked quinoa or riced cauliflower. It keeps the dish gluten free and adds a different texture or cuts carbs.
Add a kick with 1/4 cup of diced pickled jalapeños or a teaspoon of smoked paprika to the filling. It plays amazingly well with the corned beef.
For a different cheese melt, try using Swiss or Gruyère. It gives a fantastic nutty flavor that mimics a Reuben sandwich in pepper form.
Nutrition Notes
This is a balanced, satisfying meal. Here’s a general breakdown per serving (based on 6 servings).
- Calories: ~380
- Protein: 22g
- Carbohydrates: 25g
- Fat: 22g
- Fiber: 3g
- Note: Naturally gluten free. For lower sodium, look for a lower-sodium corned beef and dressing.
Your Pro-Level Questions Answered
Let’s tackle the questions my cooking students always ask.
Can I make these stuffed peppers ahead of time?
Absolutely. Assemble them completely but don’t bake. Cover tightly and refrigerate for up to 24 hours. When ready, bake straight from the fridge, adding 5-10 extra minutes to the cook time.
What’s the best way to reheat leftovers?
To keep that texture, avoid the microwave. Reheat in a 350°F oven for 10-15 minutes, or in an air fryer for about 5-7 minutes. This re-crisps the pepper and re-melts the cheese perfectly.
My dressing separated in the oven. What went wrong?
This can happen with some dressings. To prevent it, make sure your filling mixture is completely cool before you add the final cheese topping. A hot filling will cause the oils in the dressing to break more easily.
A Few Final Secrets
You now have the blueprint. But the real magic is in the tweaks. Taste your filling before it goes into the peppers. Does it need a pinch more salt? A dash more pepper? Adjust it then.
Don’t crowd the baking sheet. Air needs to circulate around each pepper for even cooking and browning. Use two sheets if you have to.
Finally, let those peppers rest. I know it’s hard when they smell so good. But those 5 minutes are what turns a messy plate into a perfect, Instagram-worthy dinner. If you’re a fan of the sweet and savory combo in this dish, you’ll adore our Brown Sugar & Mustard Glazed Corned Beef for a different take on this flavorful meat.
Now that you have the secret, go try it! I want to hear all about it. Did the dressing change the game for you? What variations did you try? Let me know in the comments below and give this recipe a rating if you loved it!