Want a snack that feels like a treat but costs less than a fancy coffee? I get it. We all need those reliable, affordable wins in the kitchen. If you’re looking for more inspiration, check out our recipe for toddler-approved peanut butter banana muffins.

My secret weapon is a batch of Peanut Butter Banana Chip Muffins. They are my go-to for a quick energy boost, a lunchbox surprise, or a satisfying afternoon bite. You don’t need expensive ingredients to eat well, and this recipe proves it.
It turns basic pantry staples into something special. The nutty flavor of peanut butter pairs perfectly with sweet banana. It’s a combination that feels indulgent but is incredibly smart on your wallet.
Recipe Overview
This is the kind of recipe you’ll come back to again and again. It’s simple, forgiving, and always delivers.
Peanut Butter Banana Chip Muffins Recipe
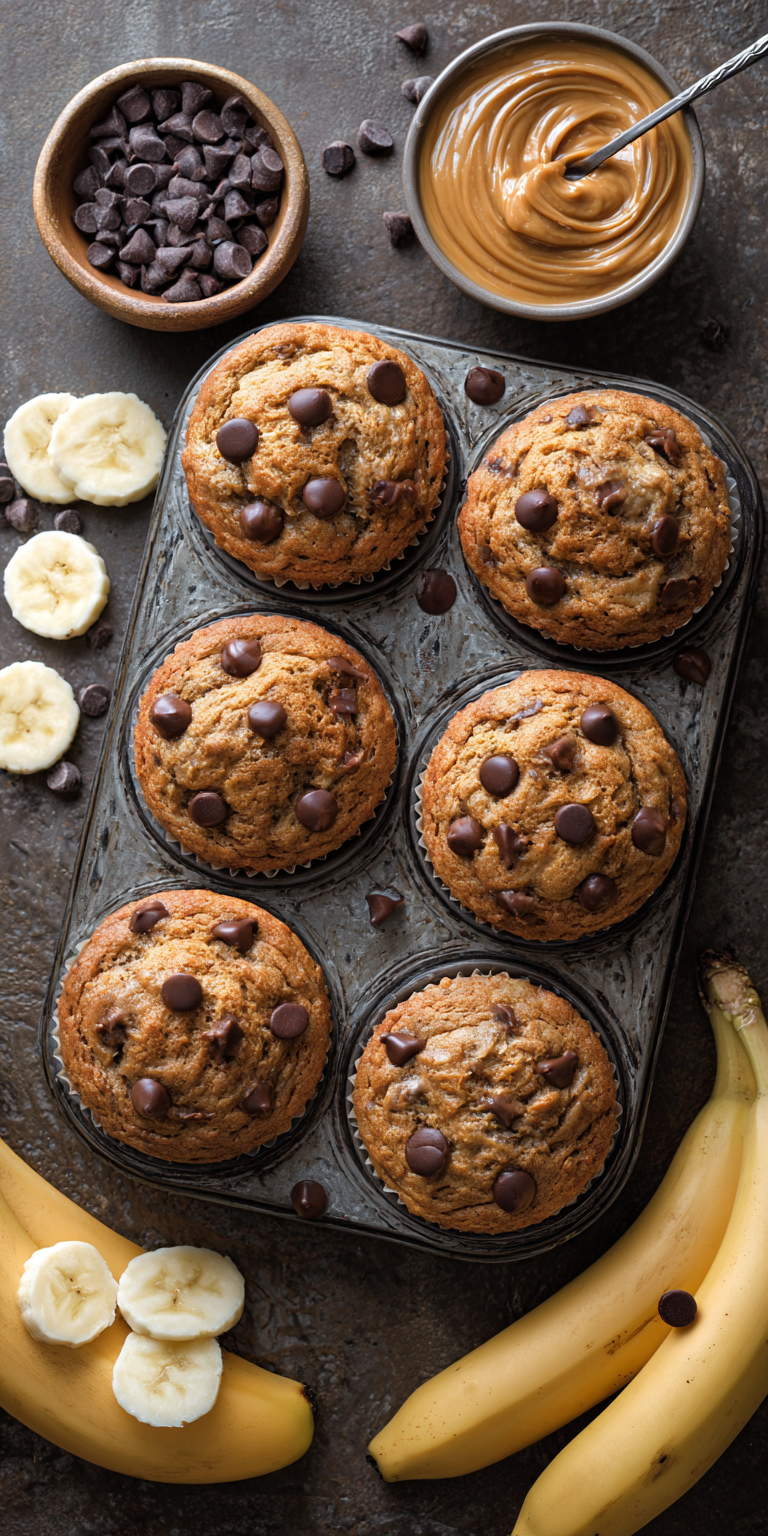
The Budget-Friendly Ingredient List
How to Make It (Step-by-Step)
Notes
Enjoy your homemade Peanut Butter Banana Chip Muffins Recipe!
- Cuisine: American
- Category: Baking, Snack
- Prep Time: 10 minutes
- Cook Time: 18-20 minutes
- Total Time: About 30 minutes
- Servings: 12 muffins
Why This Recipe Saves You Money
Let’s talk about why this recipe is a budget superstar. Every ingredient has a purpose and a long shelf life.
First, it uses overripe bananas. This turns a potential waste item—those spotty bananas on your counter—into the star of the show. No need to buy special, perfect fruit.
Second, peanut butter is a protein powerhouse that’s far cheaper per serving than many other protein snacks or bars. A jar goes a long way.
Finally, the dry ingredients are all pantry basics. Flour, sugar, baking soda—you likely have them already. This means no special trip to the store for a single expensive component.
My Tips for Smart Shopping on a Budget
I’ve learned a few tricks over the years to keep my grocery bill low without sacrificing flavor.
Buy generic brand peanut butter. The store-brand natural or regular kinds work perfectly here and save you dollars. The same goes for flour and sugar.
Look for bananas on sale, especially if they’re already ripening. Stores often discount them. You can peel and freeze them right away for future baking.
Purchase chocolate chips in bulk if you bake often. It’s much cheaper per ounce than the small bags. Store them in a sealed container in a cool, dark place.
The Budget-Friendly Ingredient List
Here’s everything you need. Check your pantry first—you might be halfway there!
- 1 1/2 cups mashed ripe bananas (about 3 medium)
- 1/2 cup creamy peanut butter
- 1/3 cup neutral oil (like vegetable or canola)
- 1/2 cup granulated sugar
- 1 large egg
- 1 teaspoon vanilla extract
- 1 1/2 cups all-purpose flour
- 1 teaspoon baking soda
- 1/2 teaspoon salt
- 3/4 cup chocolate chips (semi-sweet or milk chocolate)
How to Make It (Step-by-Step)
This method is straightforward. We’re mixing wet and dry ingredients separately, then combining them. It’s the key to a good texture. For a classic version without chocolate chips, our guide to making soft and nutty peanut butter banana muffins has you covered.
- Start by heating your oven to 375°F (190°C). Line a 12-cup muffin tin with paper liners or grease it well.
- In a large bowl, mix the mashed banana, peanut butter, oil, sugar, egg, and vanilla. Stir it until it’s smooth and well combined.
- In a separate medium bowl, whisk together the flour, baking soda, and salt.
- Add the dry ingredients to the wet ingredients. Gently fold everything together with a spatula. Stop when you just see no more dry flour streaks. A few lumps are okay.
- Fold in the chocolate chips. Be gentle to keep the batter tender.
- Divide the batter evenly among the 12 muffin cups. They should be about 3/4 full.
- Bake for 18 to 20 minutes. They’re done when a toothpick inserted into the center comes out clean or with just a few moist crumbs.
- Let the muffins cool in the pan for 5 minutes. Then, move them to a wire rack to cool completely. This stops them from getting soggy.
How to Use Up Every Last Bit (No Waste!)
I hate throwing food away. Here’s how to make sure nothing from this recipe goes to waste.
If you have leftover mashed banana, freeze it in a sealed bag. Measure it out in 1/2 cup portions for your next baking day. It’s a real time-saver.
Have extra chocolate chips? Toss a handful into oatmeal, pancake batter, or even a small bowl of popcorn for a fun treat. They keep for months.
The last bit of peanut butter in the jar? Add a splash of milk, shake it vigorously, and you have a instant, delicious peanut butter milk drink. No scraping required.
Nutrition Notes
These muffins are a more wholesome option than many store-bought snacks. Here’s a general look at what they offer.
- Good source of protein from the peanut butter and egg.
- Provides potassium and fiber from the bananas.
- Offers a balance of carbohydrates and fats for sustained energy.
- Portion-controlled when made as 12 muffins.
- Naturally sweetened by fruit, reducing the need for extra sugar.
Common Questions About This Recipe
Here are answers to the questions I get asked most often about this recipe.
Can I use crunchy peanut butter?
Absolutely! Crunchy peanut butter will work just fine. It will add a nice little texture to the muffins. The recipe steps stay exactly the same.
What if I don’t have chocolate chips?
No problem at all. This is a budget recipe, so use what you have. You can leave them out for a pure peanut butter banana muffin. Or, swap in chopped nuts, raisins, or even a handful of oats. Of course, if you love the chocolate-peanut butter combo, our peanut butter chocolate banana muffins are a must-try.
How do I store these muffins?
Keep them in an airtight container at room temperature for 2-3 days. For longer storage, freeze them. Wrap each muffin individually and freeze for up to 3 months. Just thaw at room temperature or warm in the microwave.
I hope this recipe shows you how simple, satisfying food doesn’t have to break the bank. A batch of these muffins solves so many problems—hungry kids, a needed energy boost, last-minute lunchbox ideas—all for just pennies per serving.
They are proof that a little creativity with humble ingredients can lead to something truly delicious. Now, I want to hear from you. What’s your favorite budget baking swap? Let me know your own money-saving tips for this recipe in the comments below! Please leave a rating!